I recently stitched up this adorable baby sweatshirt using soft stretchy fabric and stretchy black ribbing, and let me tell you, it was simple, satisfying, and absolutely worth every minute.
Whether you’re an experienced sewist or just starting out, this guide will walk you through the process from fabric to finished sweatshirt.
🧵 Matrials Used
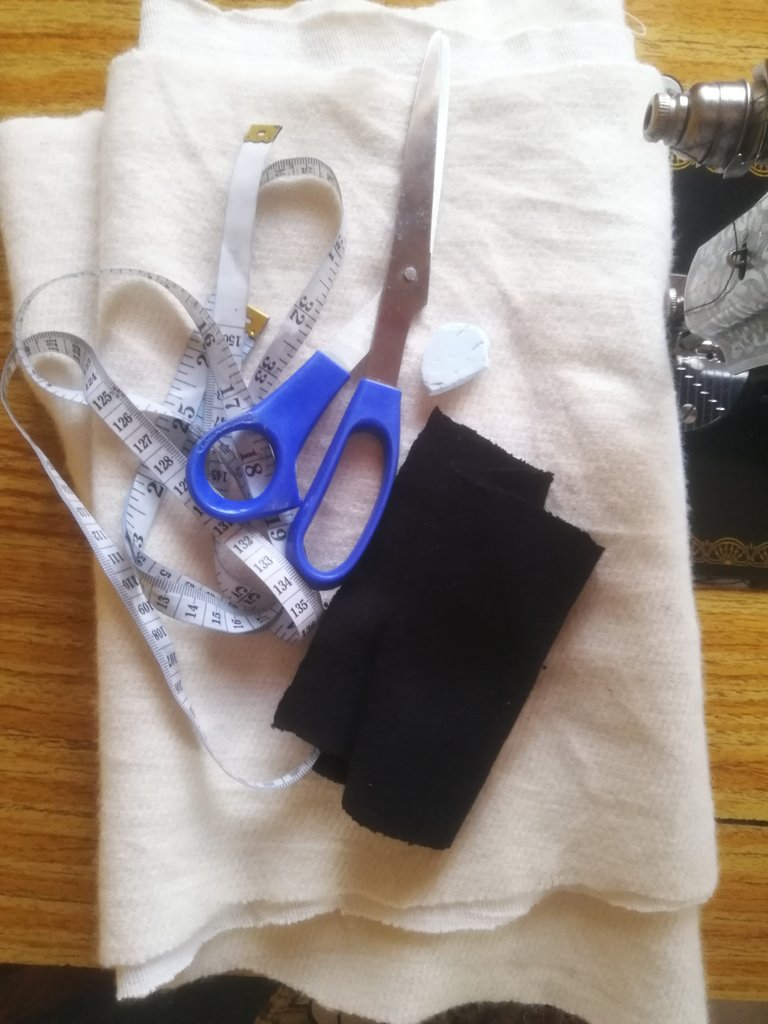
- Soft, stretchy fabric
- Rib fabric (for cuffs, neckline & hem)
- Fabric scissors
- Measuring tape
✂️ Step 1: Cut Out the Sweatshirt Pieces
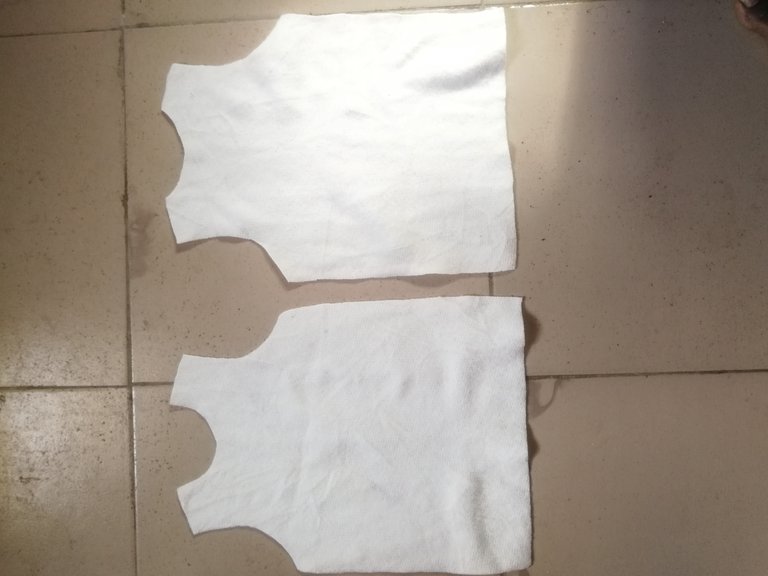
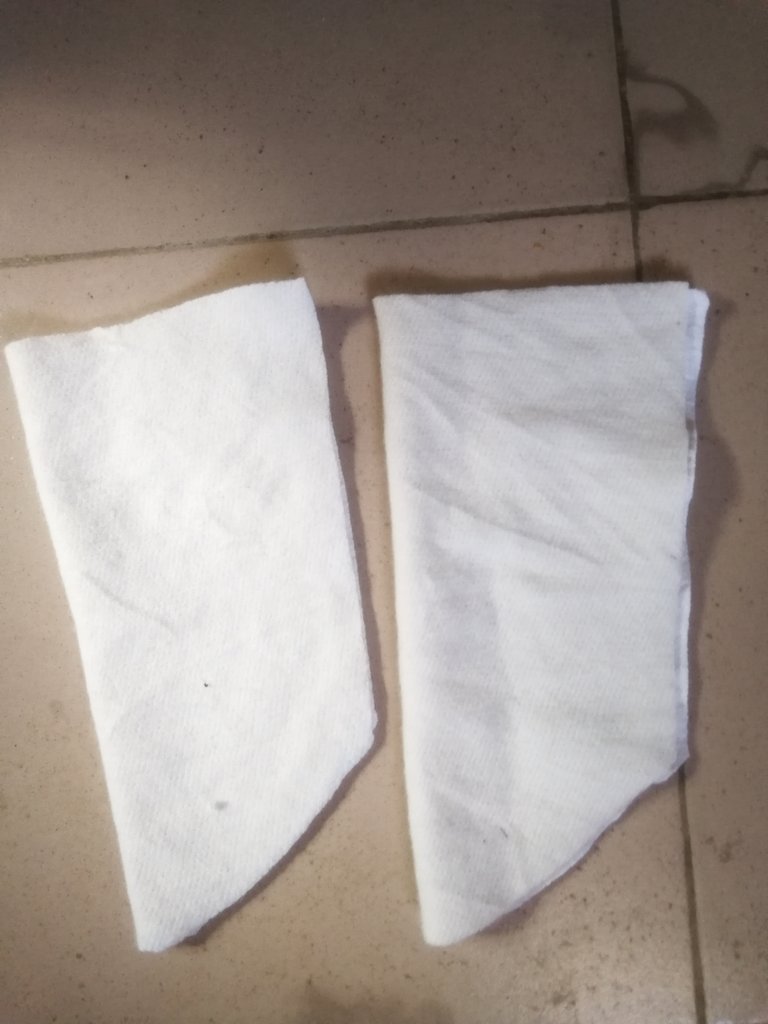
- 2 Body panels (front & back)
- 2 Sleeves (curved along the top to match the armhole, slightly tapered at the wrist)
My Measurements:
- Front neckline: 2" deep × 2" wide
- Back neckline: 2" wide × 0.75" deep
- Armhole depth: 5"
- Shoulder slant: 0.5" back, 0.75" front
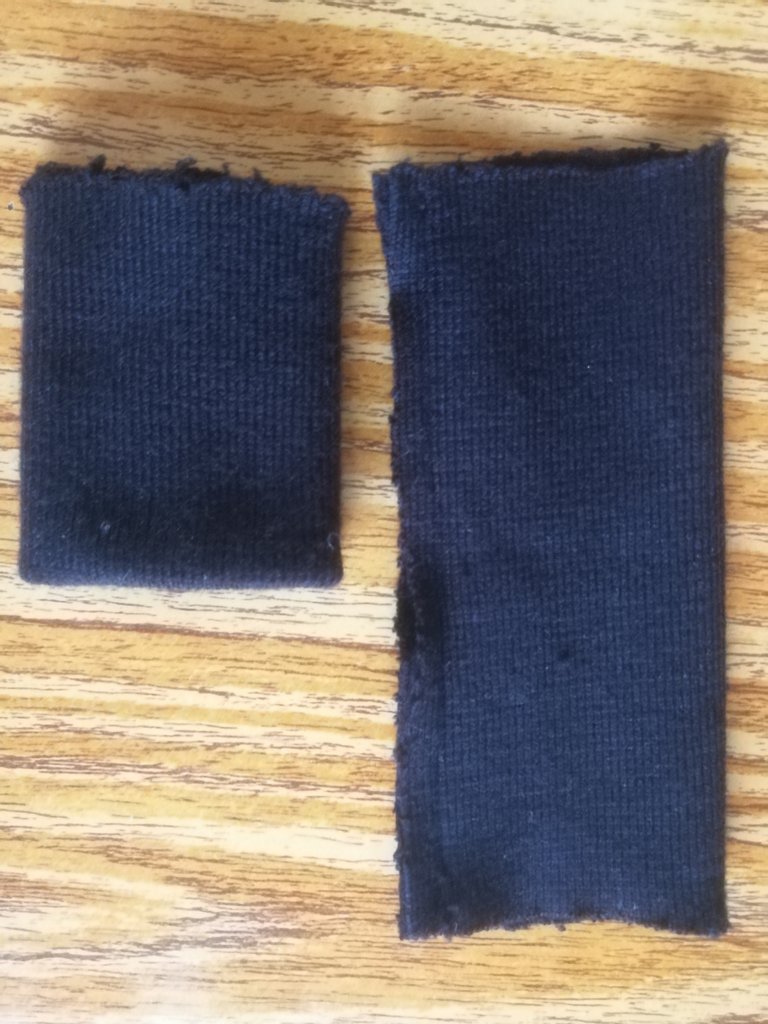
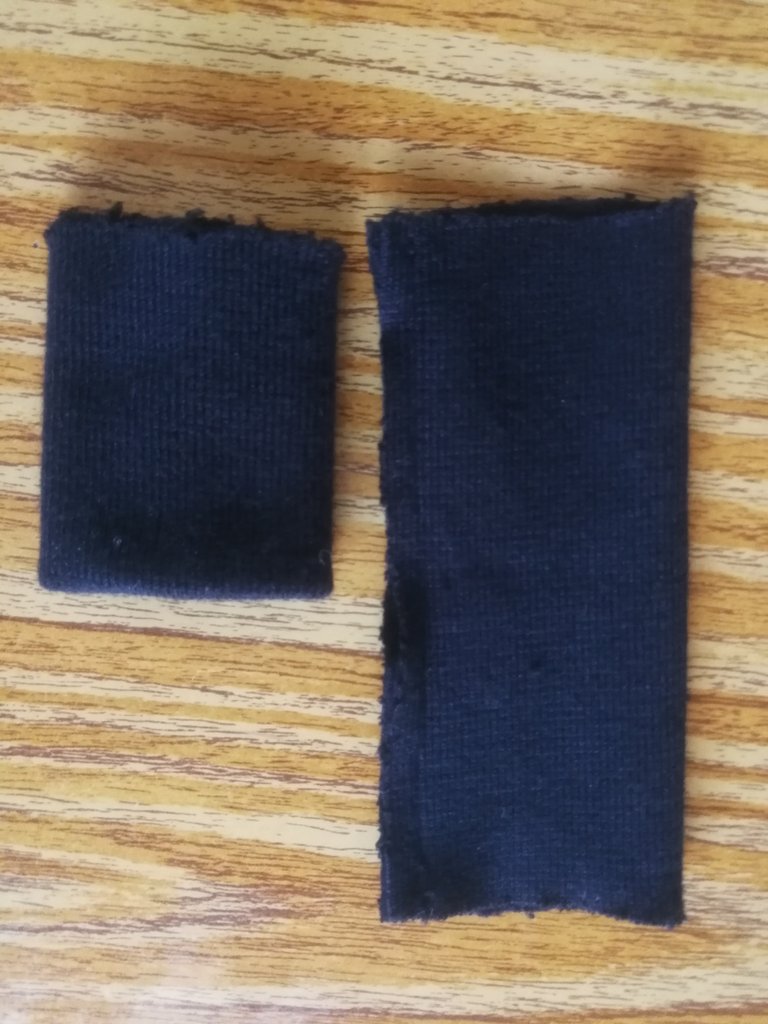
👕 Step 2: Cut the Ribbing
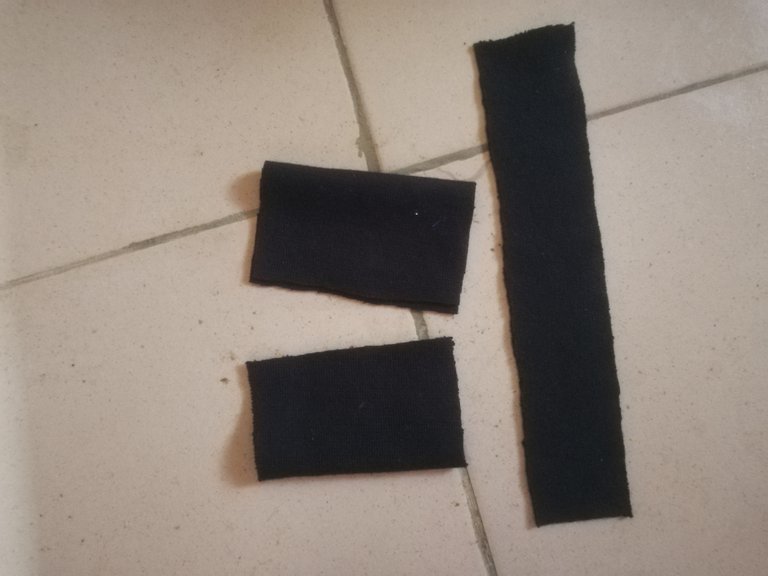
From the black rib knit:
- Neckband: 10" wide and 2"length
- 2 Wrist cuffs: 6" by 2.5"
- Hem band: 20" by 2"
🧵 Step 3: Assemble the Body
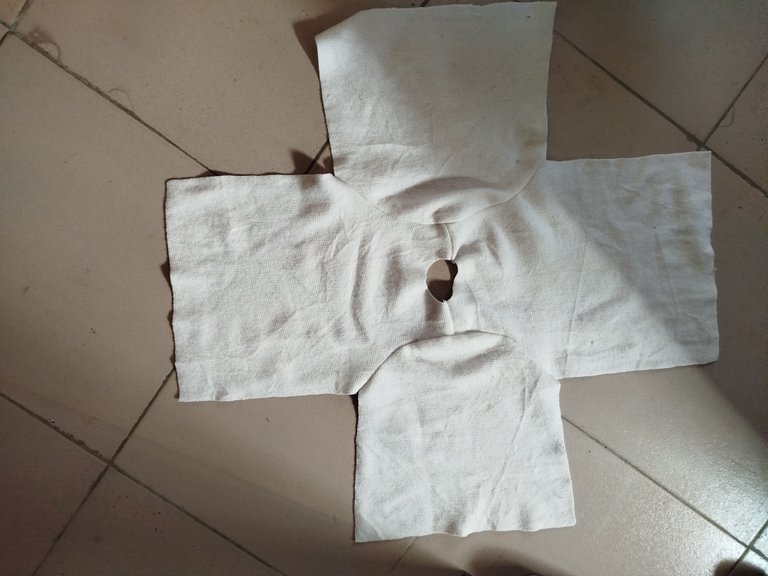
- Sew shoulder seams (front & back panels) with right sides together.
- Attach sleeves to shoulders, matching the center of the sleeve to the shoulder seam.
It should now resemble a “T” shape.
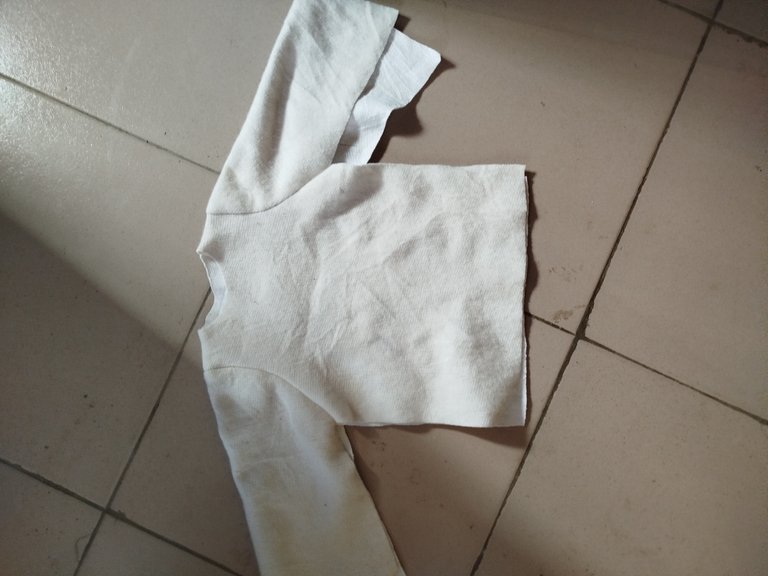
💪 Step 4: Sew the Side Seams
Fold the sweatshirt right sides together and sew from the wrist to the hem in one continuous line on each side.
🧶 Step 5: Add Neckband, Cuffs & Hem
- Neckline: Join neckband ends to form a loop, fold in half, and attach to neckline, stretching slightly to fit.
- Cuffs: Join, fold, and attach wrist cuffs.
- Hem band: Join, fold, and attach waistband.
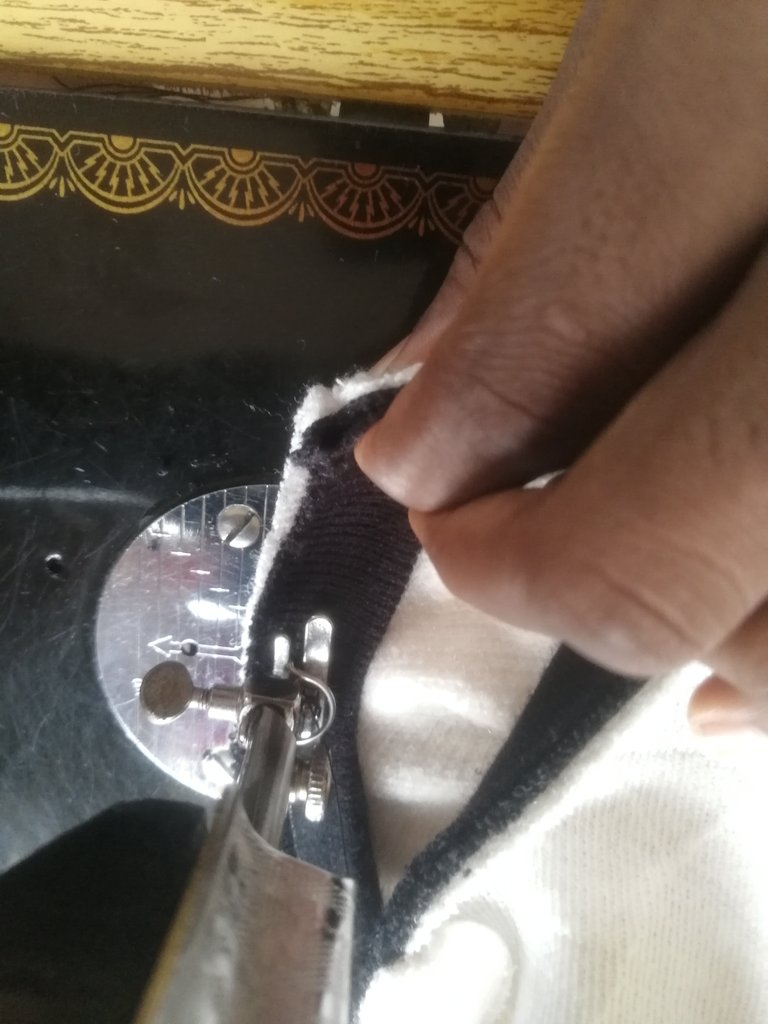
Before I attached the black bands at the wrist, I used hand needle and gathered the sleeve ends a bit. Just a small running stitch around the wrist opening, pulled tight just enough to ruffle it.
It helped the black cuff go on nicely without stretching too much.
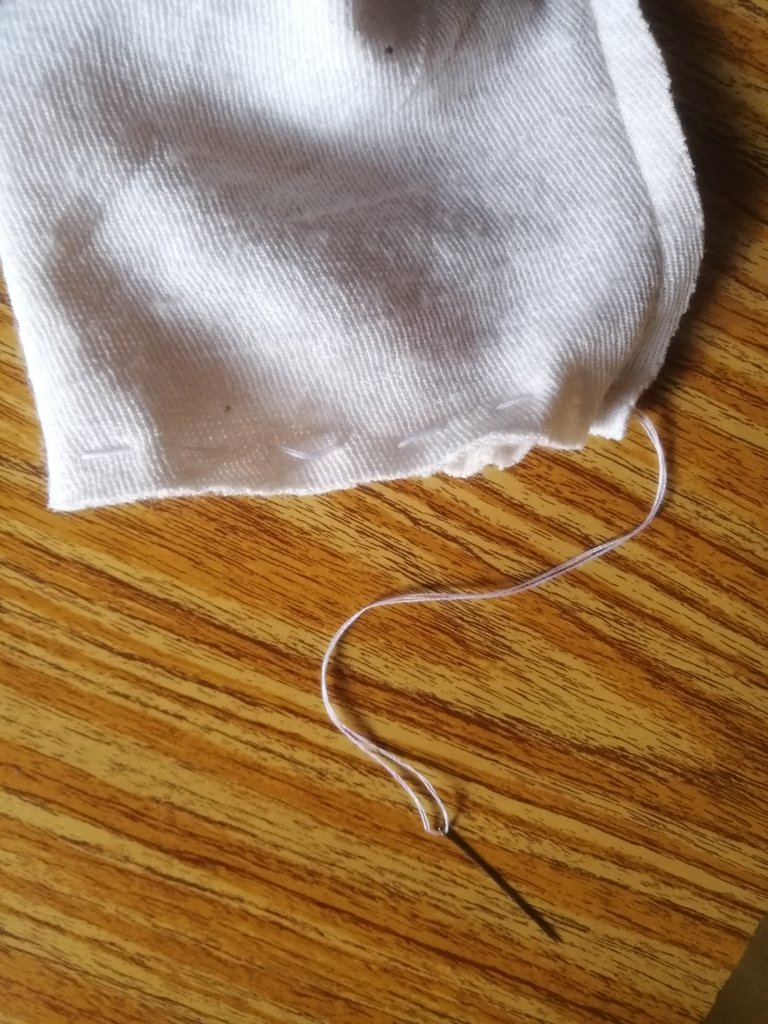
Also, I make sure to stretch the black band slightly as I sew, especially for the neckline, it helps it sit flat. Doesn’t need to be perfect. Once it’s on, it looks polished either way.
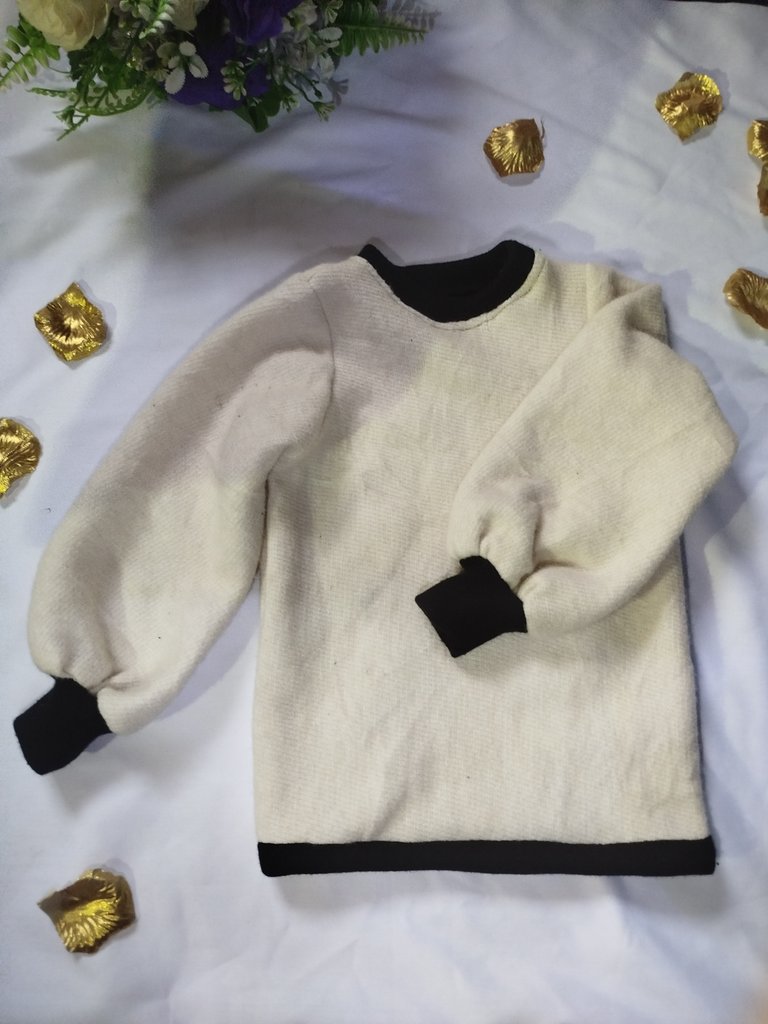
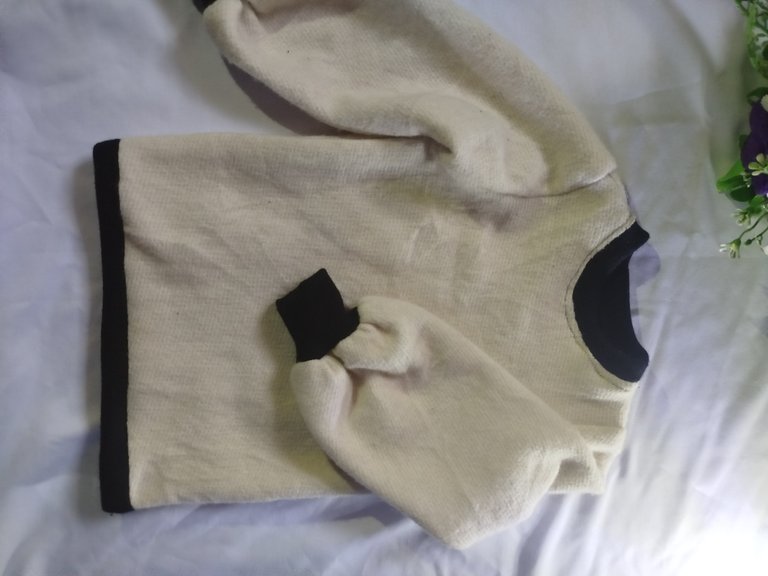
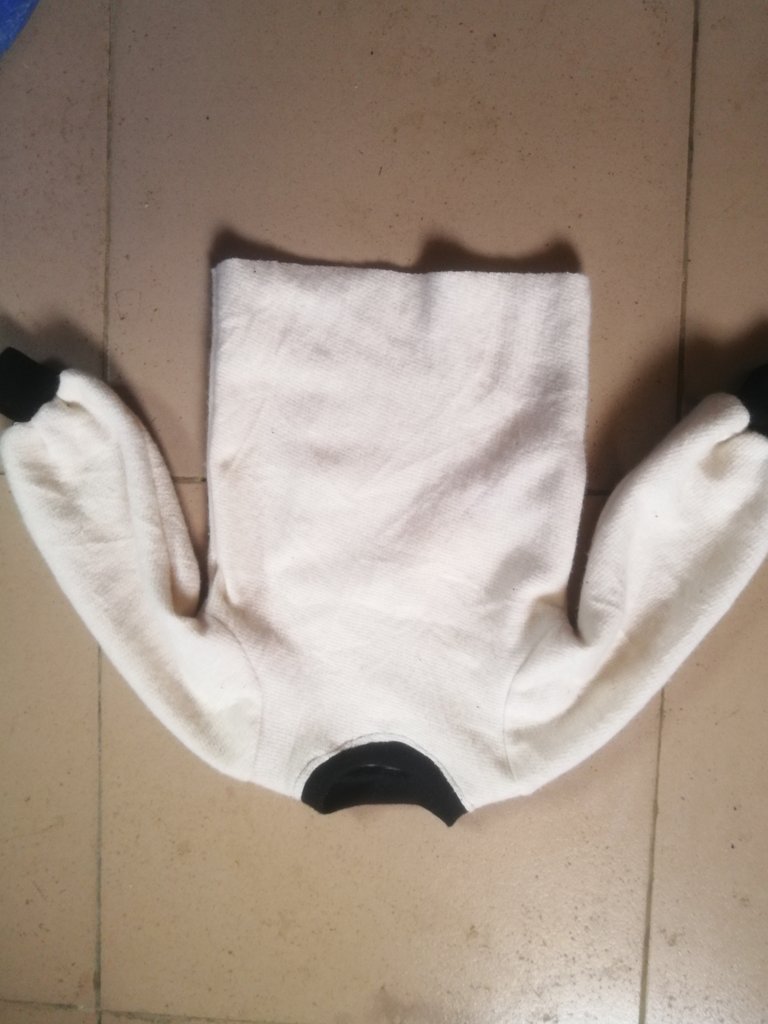
💐 And The Outcome
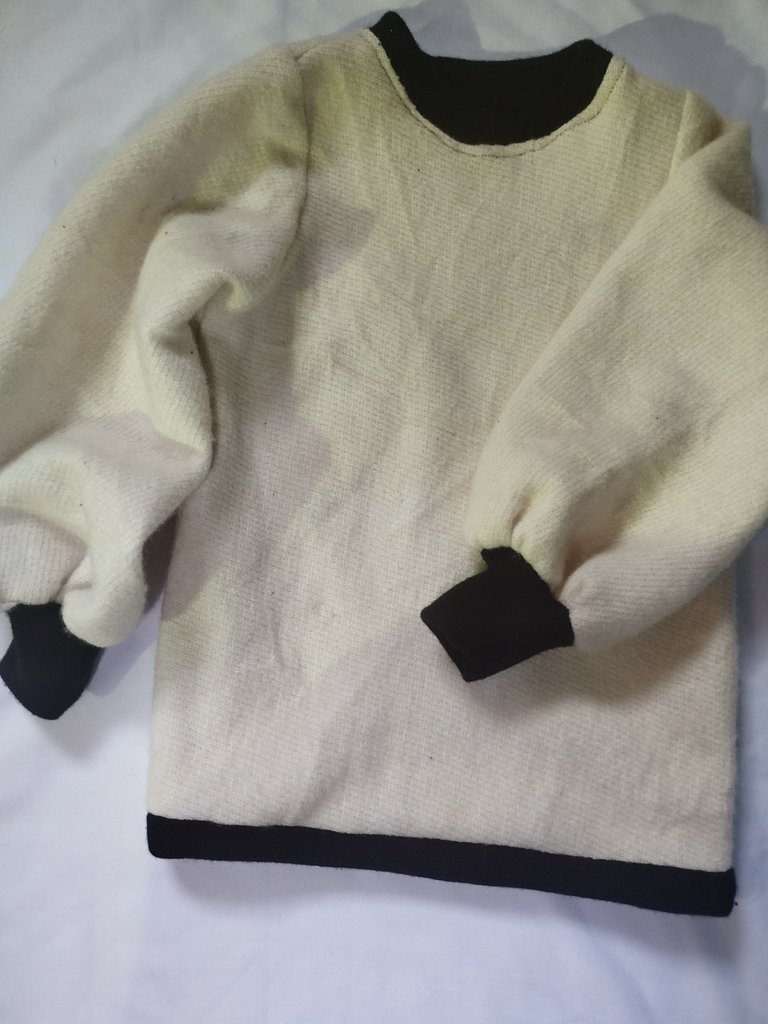
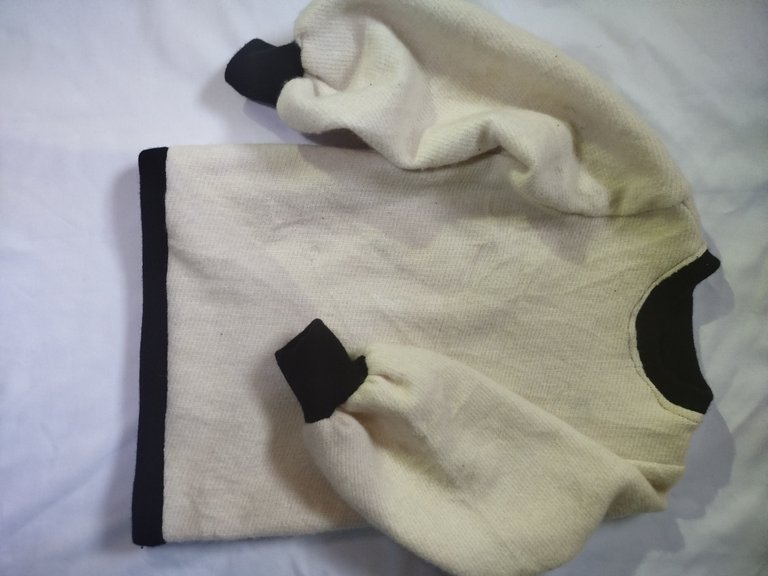
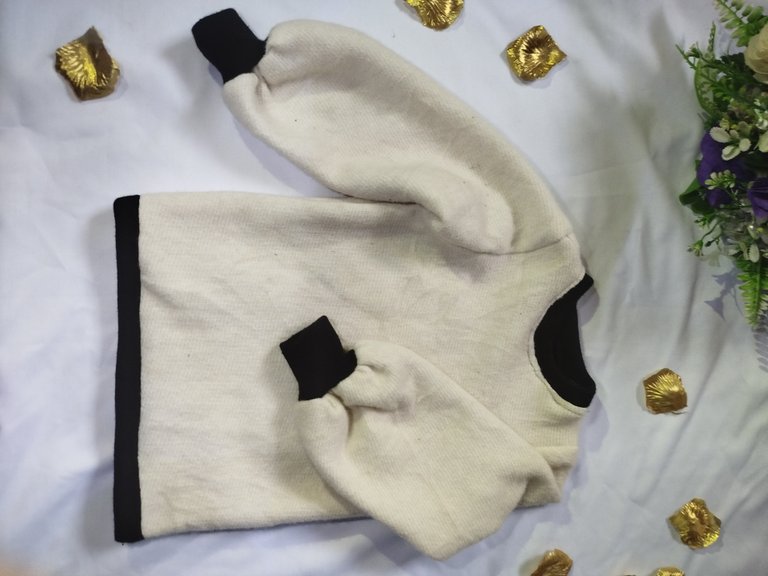
And there you have it, a cozy baby sweatshirt that’s as snug as it is stylish.
I'm so much in love with this. The contrast ribbing really adds a modern touch, and the process is beginner-friendly.
And yes, it's my first time making a sweatshirt 😊 Honestly, making clothes with your own hands feels amazing.
Thank you for stopping by ❤️✨

