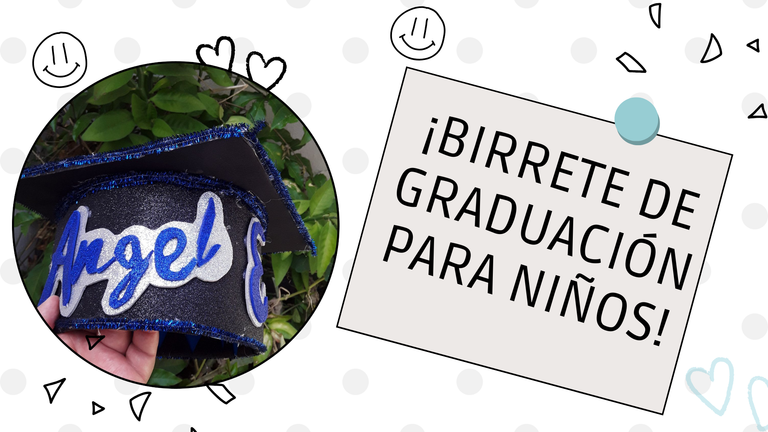
Hola amigos de Hive. Hoy estoy feliz de compartir con ustedes mi experiencia realizando el birrete para la graduación de preescolar de mi pequeño Angel. Una manualidad que quería hacer por mí misma, porque pueden imaginar el significado tan especial que tiene para mí.
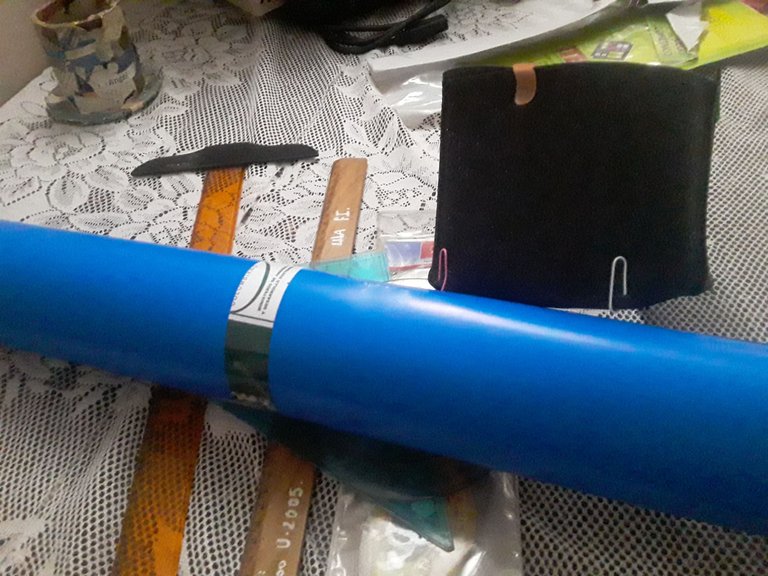
Poco a poco fui adquiriendo algunos materiales, casi todos los compré en una tienda muy popular en mi país llamada El Castillo. Allí encontré foami escarchado, doble carta y también una cartulina de unos 2.5 mm de espesor que me encantó porque es muy manejable, ideal para realizar maquetas. También compré un paquete de pipe cleaners que me pareció ideal para decorar. Quería que el birrete quedara bonito, llamativo, pero sin exagerar.
Al final, estos son los materiales que terminé usando:
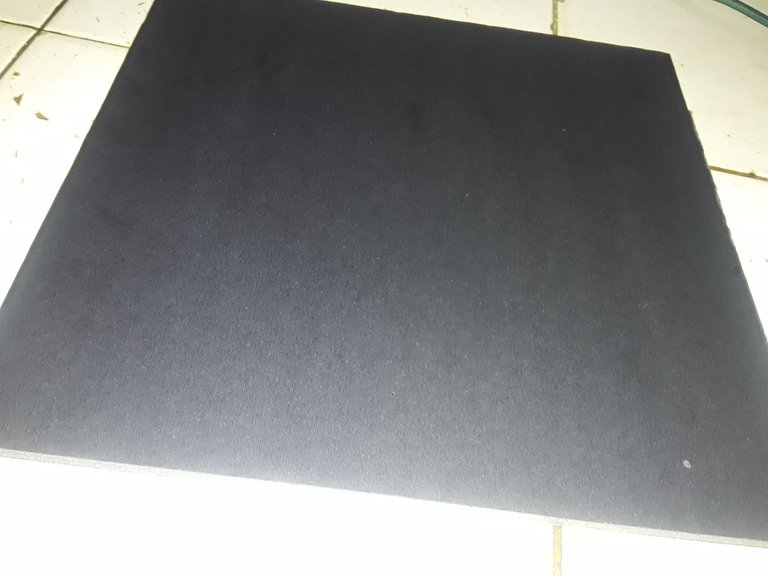
Un foami escarchado negro de tamaño doble carta.
60 cm por 15 cm de cartulina doble fax.
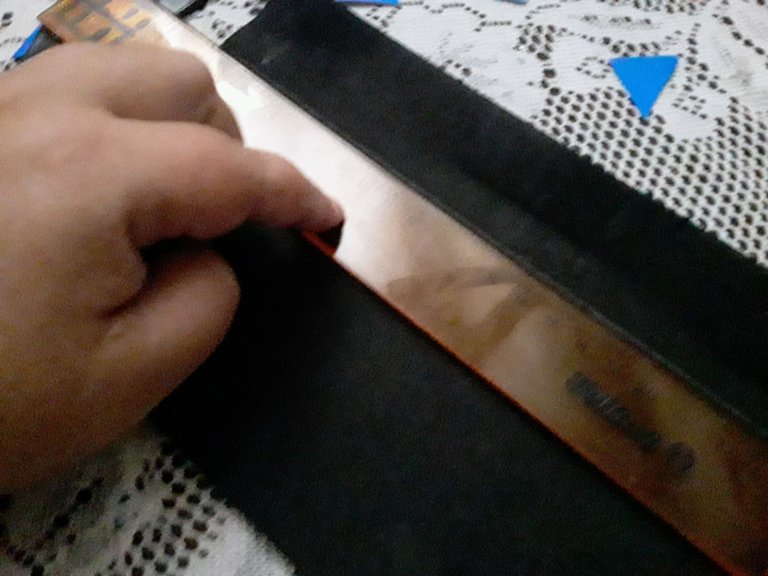
Una cartulina negra, tamaño carta de espesor 2.5 mm
8 tiras de pipe cleaners
Silicón caliente
Foami escarchado azul
Foami escarchado plateado
Impresiones del nombre y el texto elaborados en Canva.
Tijeras y reglas.
 |
|---|
Procedimiento
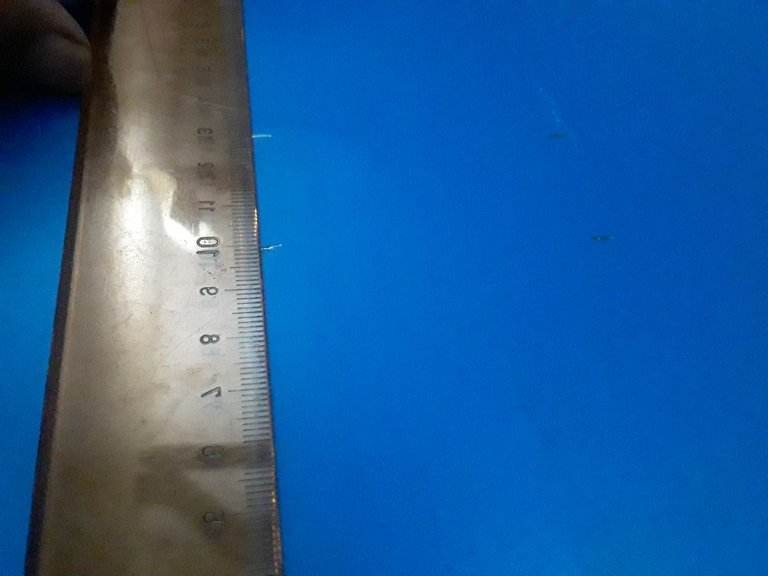
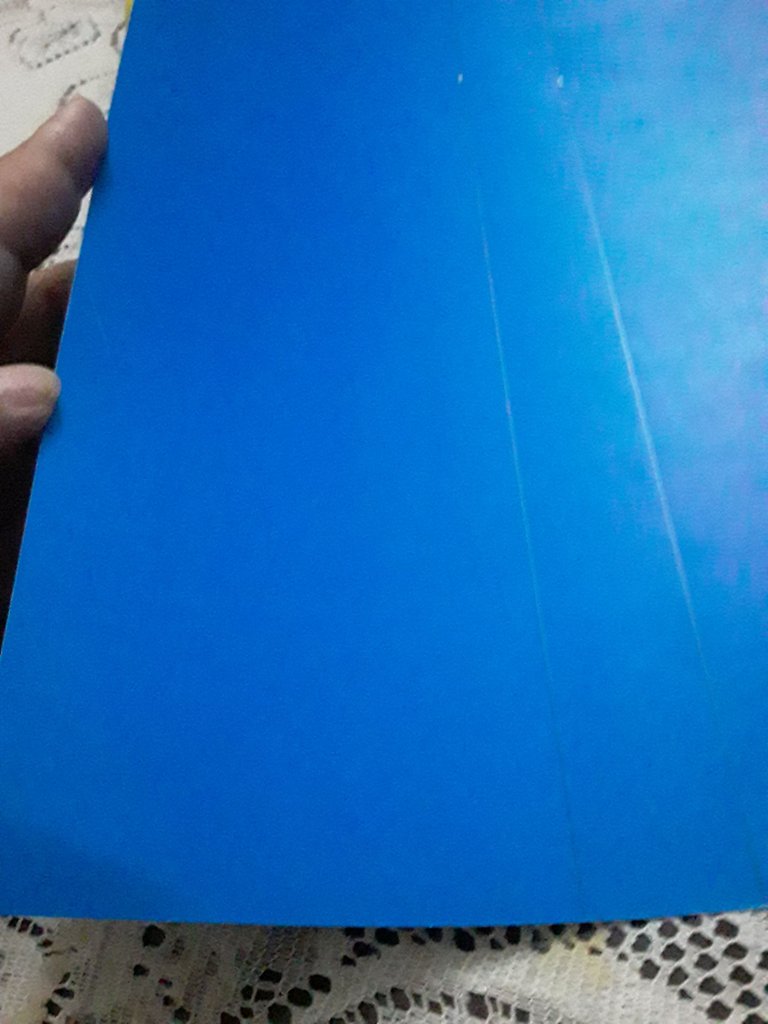
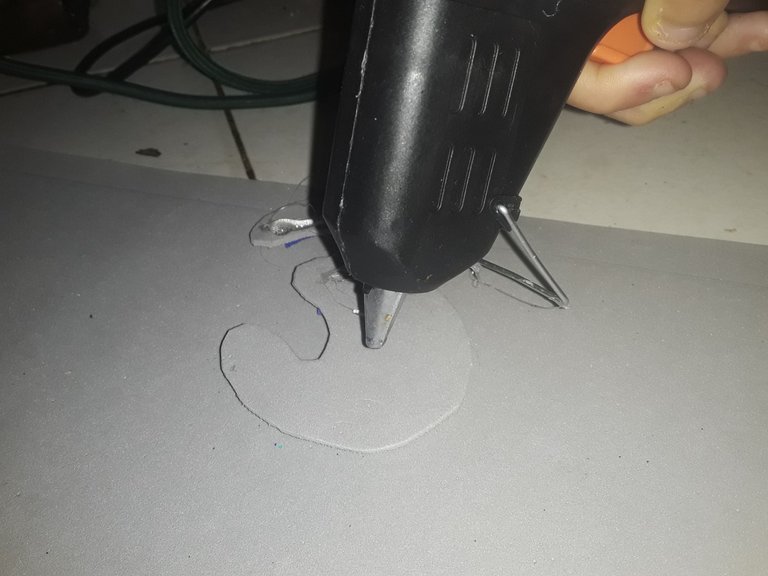
Antes de comenzar a cortar, medí la circunferencia de la cabeza de mi niño y realicé una prueba con el foami escarchado, ya que es un material más manejable, necesitaría entonces 52 cm de largo por 10 cm de alto, para realizar la base del birrete, pero necesitaba algunos centímetros extra para las pestañas que llevarían el pegamento.
 |  |
|---|
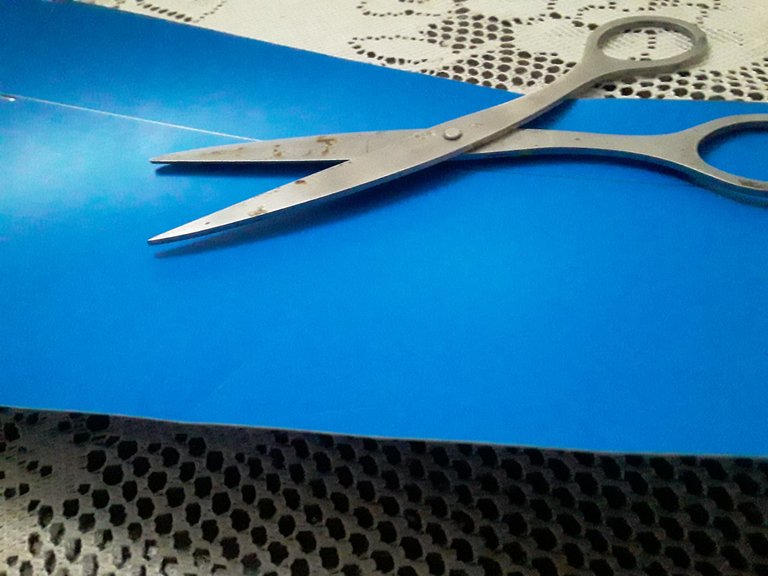
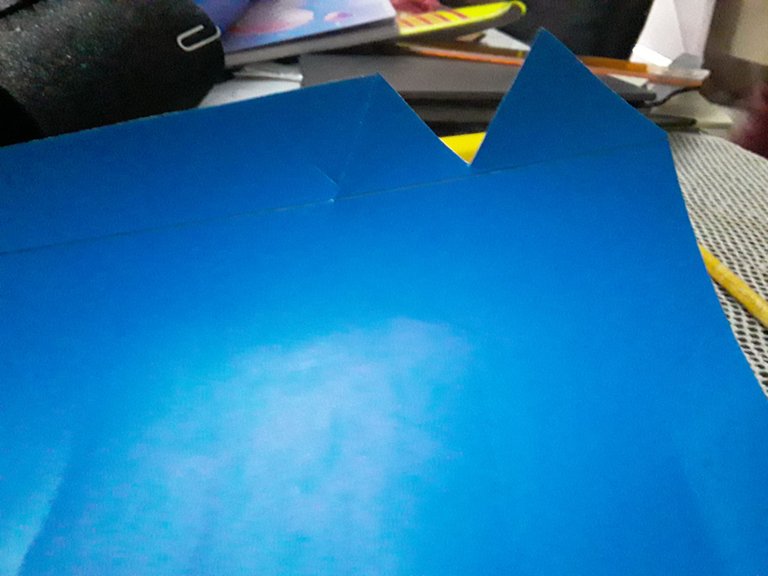
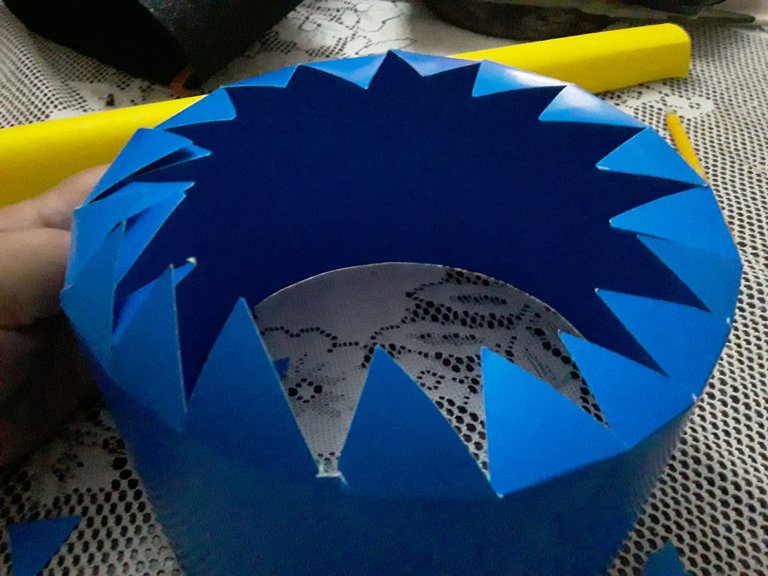
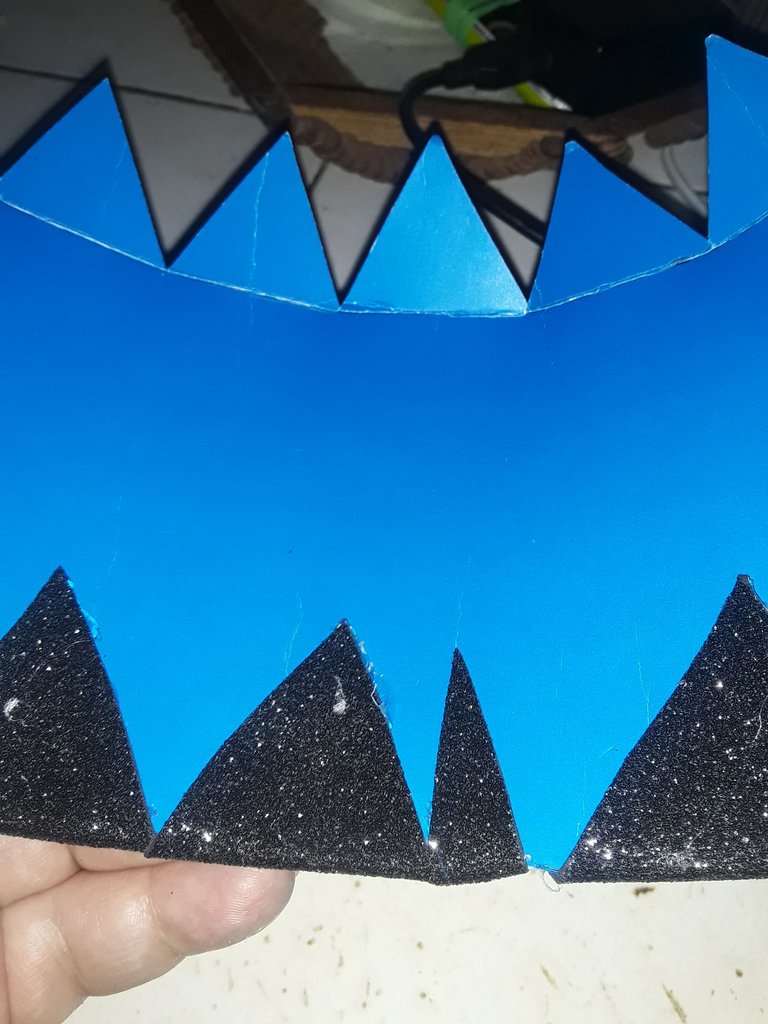
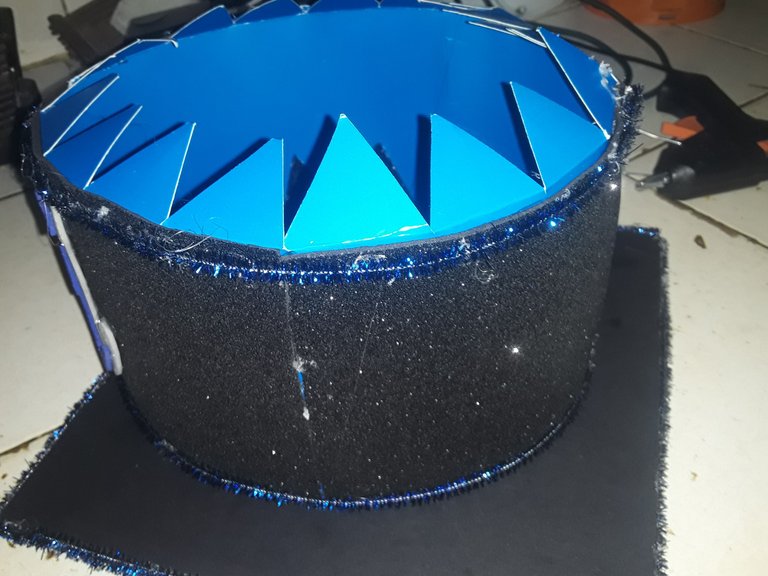
Realice cortes triangulares de un lado de la cartulina. Sobre ellos colocaría la cartulina dura dándole estabilidad.
 |  |
|---|
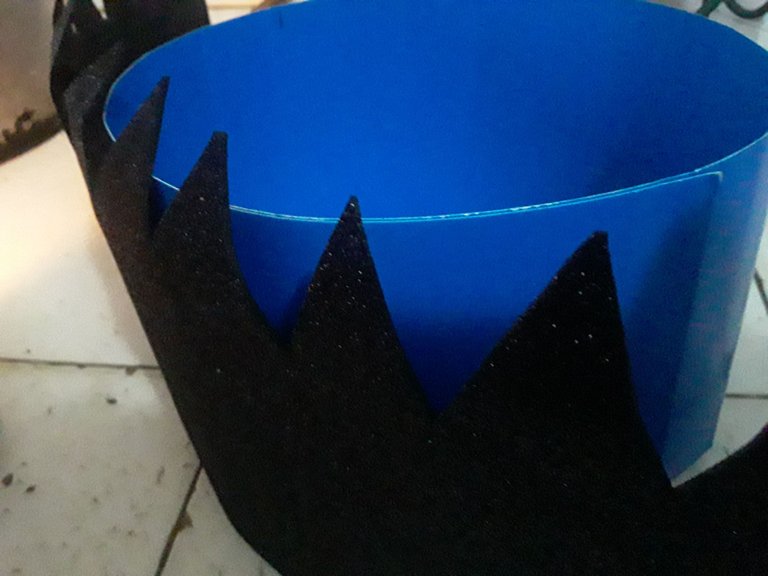
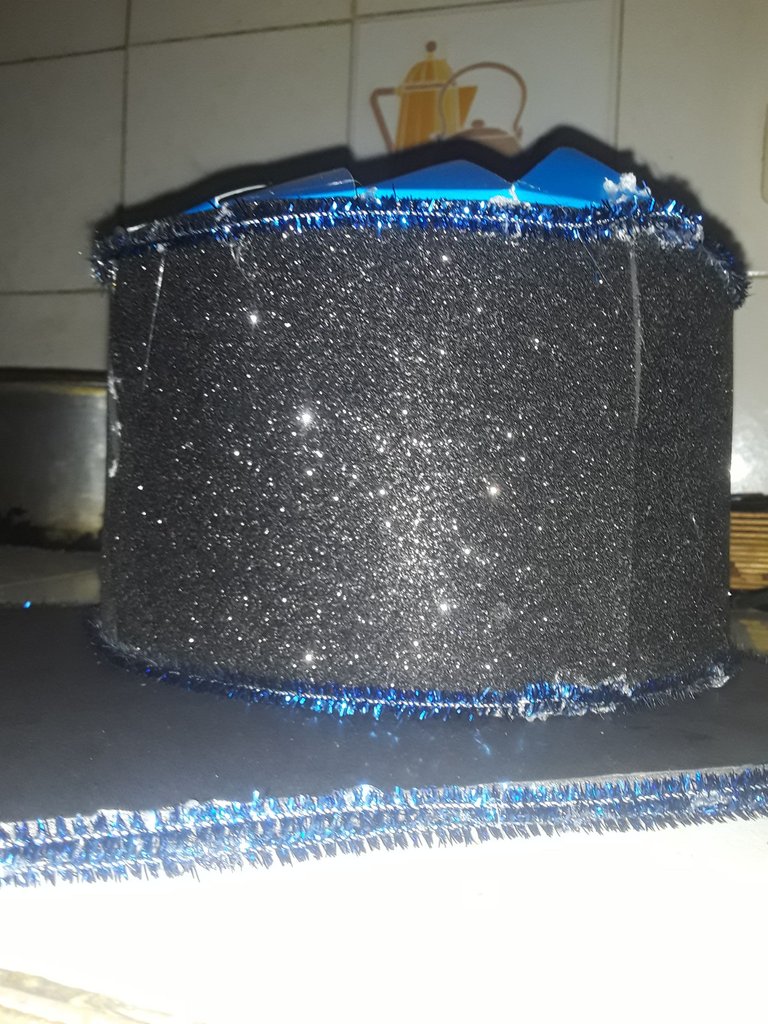
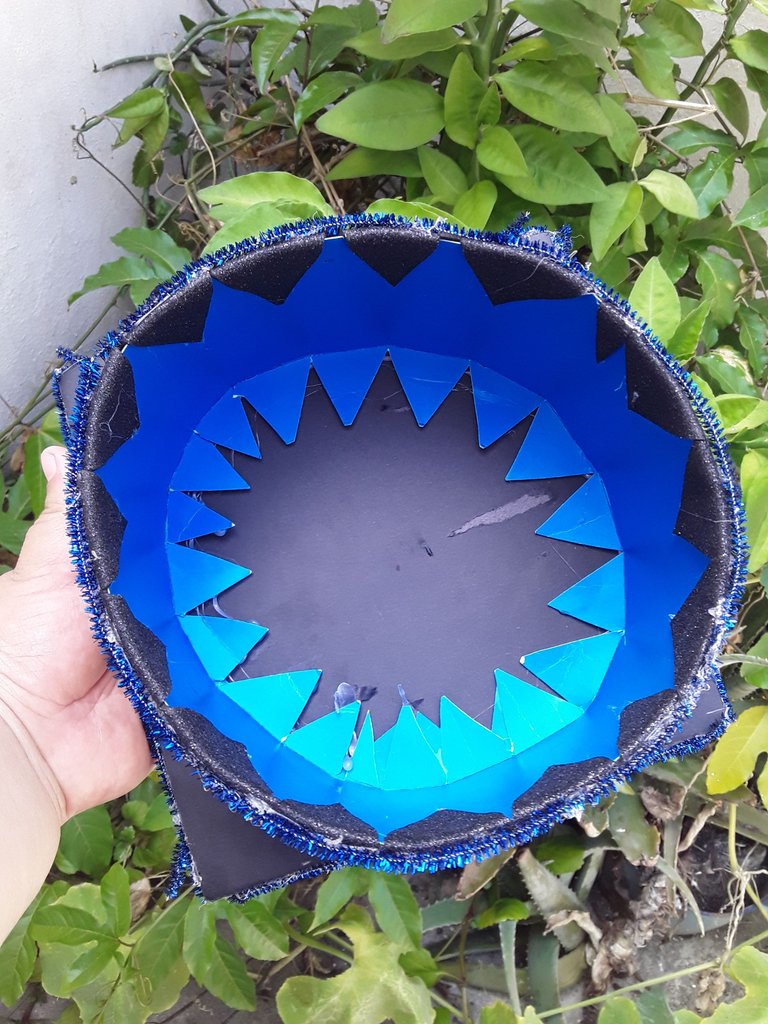
Uní los extremos de la cartulina, dándole la forma circular y probé que tuviese el tamaño adecuado. Realice el mismo procedimiento con el foami negro, y este lo pegué muy bien sobre la cartulina. Pero esta vez las pestañas irían en la parte inferior de la base.
 |  |
|---|
 |  |
|---|
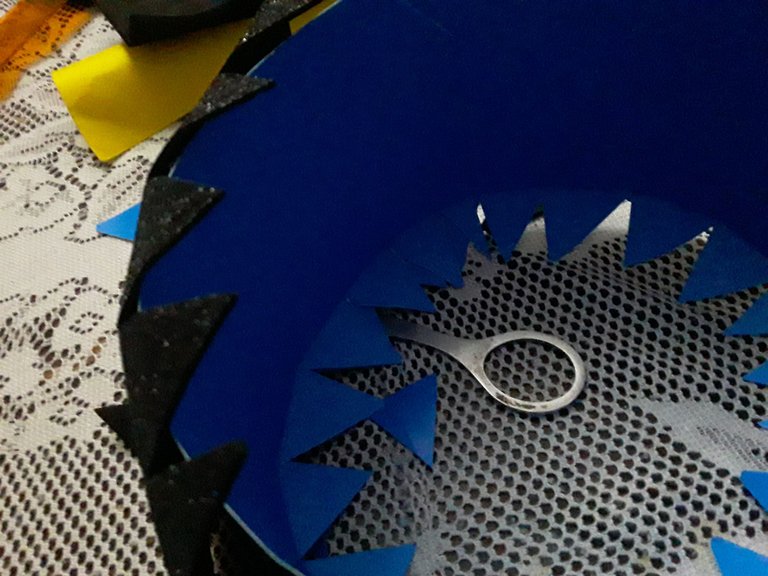
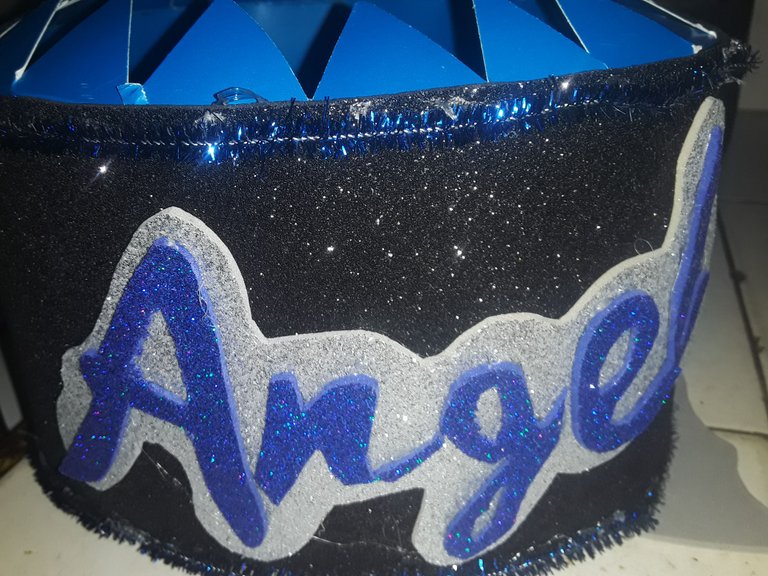
Adorne los extremos del cilindro usando las tiras azules, para cada lado use dos, me pareció que son muy prácticos y moldeables.
 |  |
|---|
 |  |
|---|
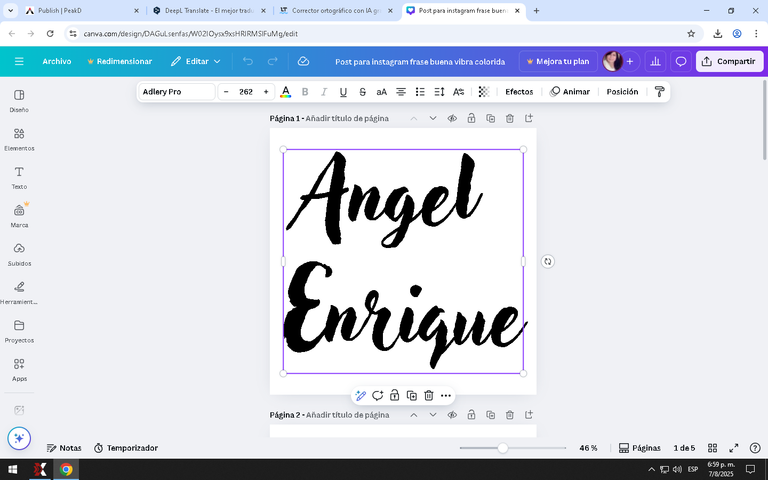
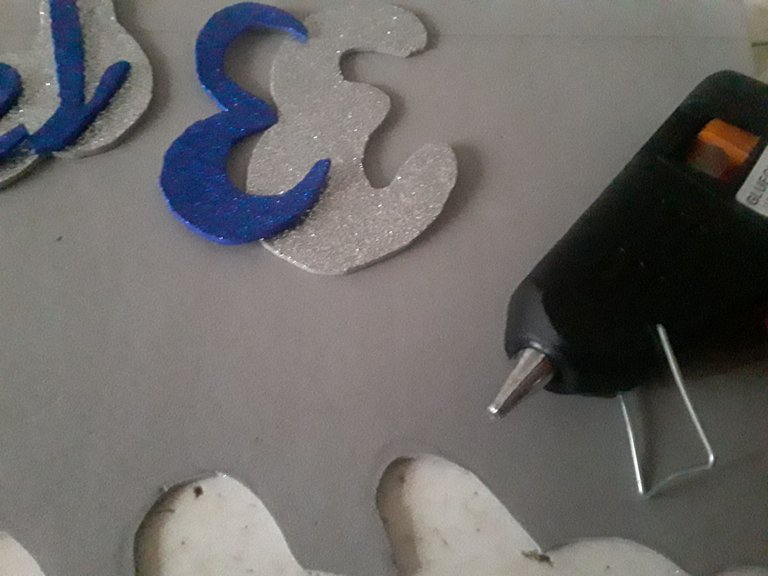
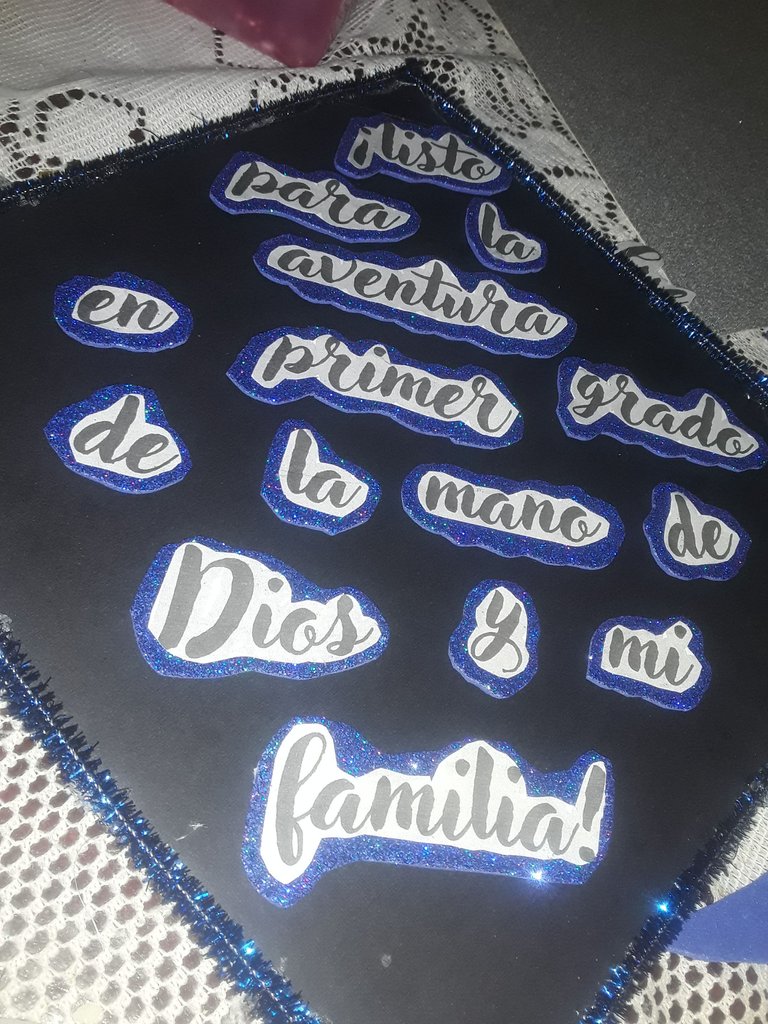
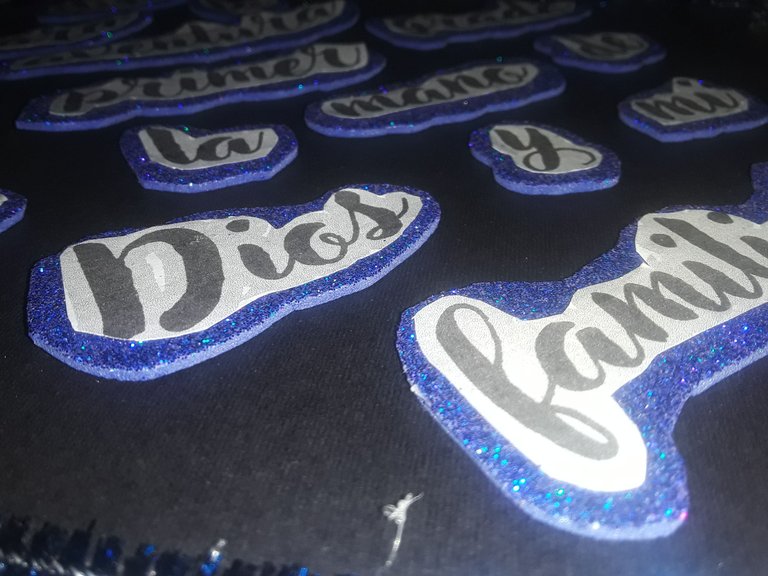
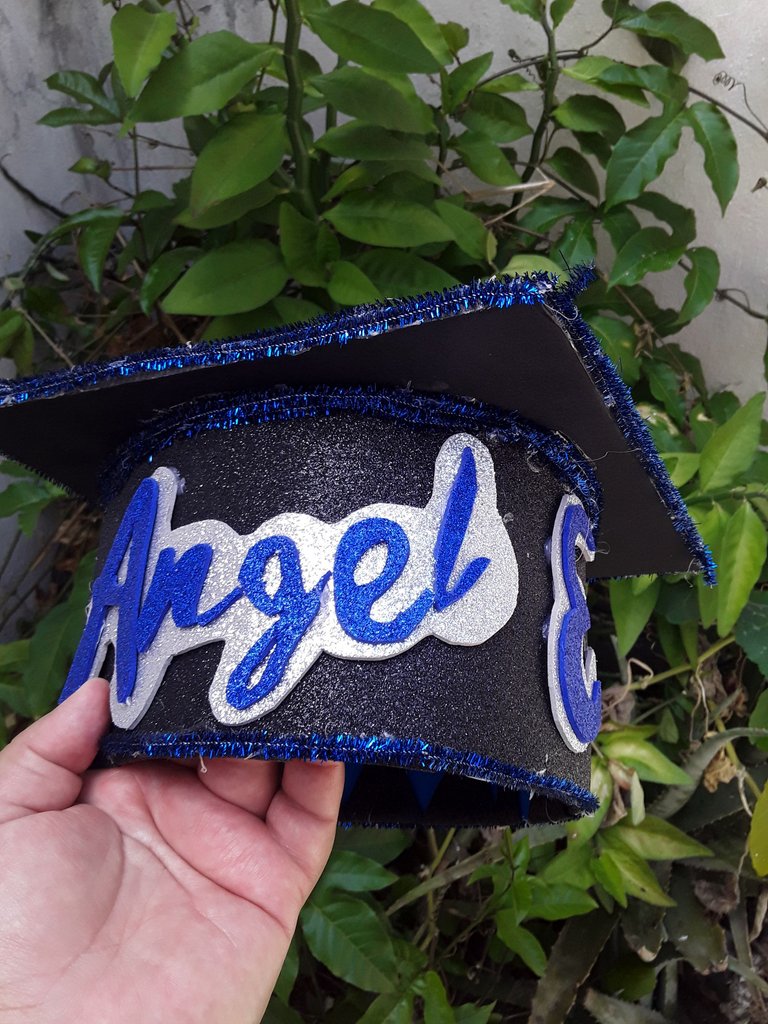
Corte la cartulina de 2.5 mm de espesor para que me quedara de 20 cm por 20 cm, un tamaño adecuado para los niños. Y antes de pegarlo al cilindro, decidí adornar por separado. Para mí fue la parte difícil, pues usé una fuente un poco complicada de recortar. Elegí Adlery Pro de Canva un tipo de letra muy bonita.
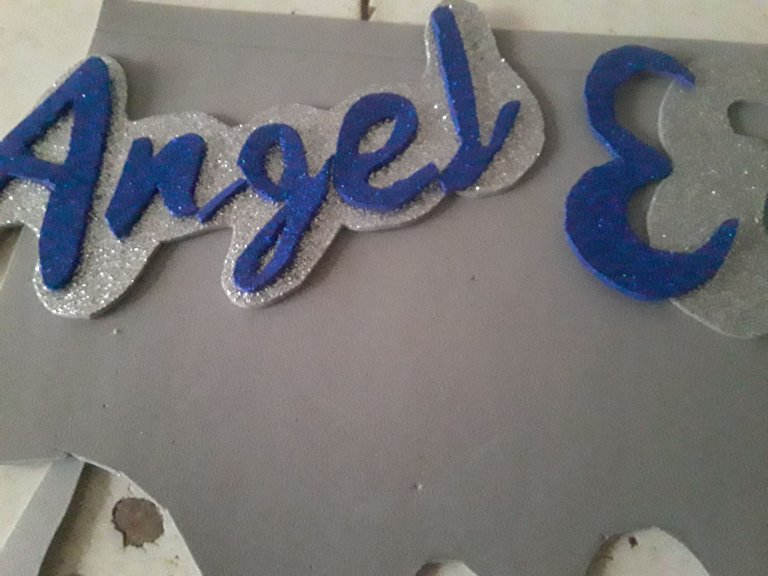
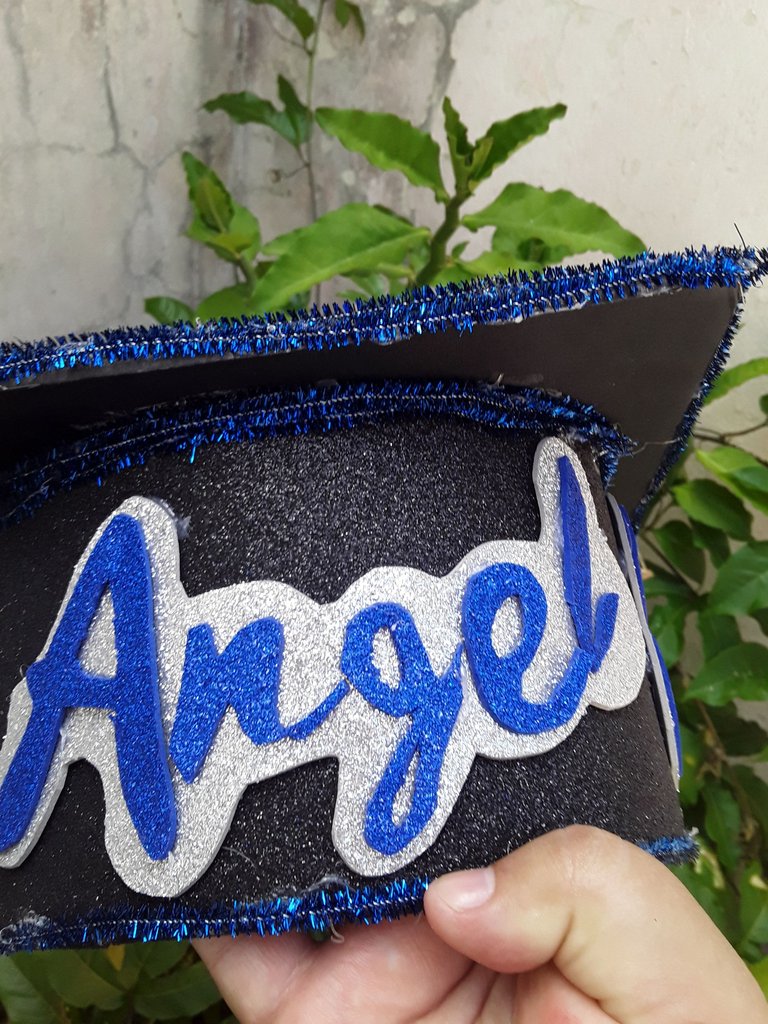
En general, el procedimiento que usé fue el siguiente. Remarque las letras al revés con un lápiz sobre la parte trasera del foami. Recorté con cuidado y la pegué sobre el foami plateado, el cual bordeé alrededor de la palabra. Quería usar los dos nombres, pero terminé solo usando el primer nombre y la inicial del segundo.
 |  |
|---|
 |  |
|---|
 |  |
|---|
Para la parte superior, recorté las palabras, que tenía impresa, y las coloqué sobre foami azul. Finalmente, arreglé algunos detalles y uní las dos partes del birrete.
 |  |
|---|
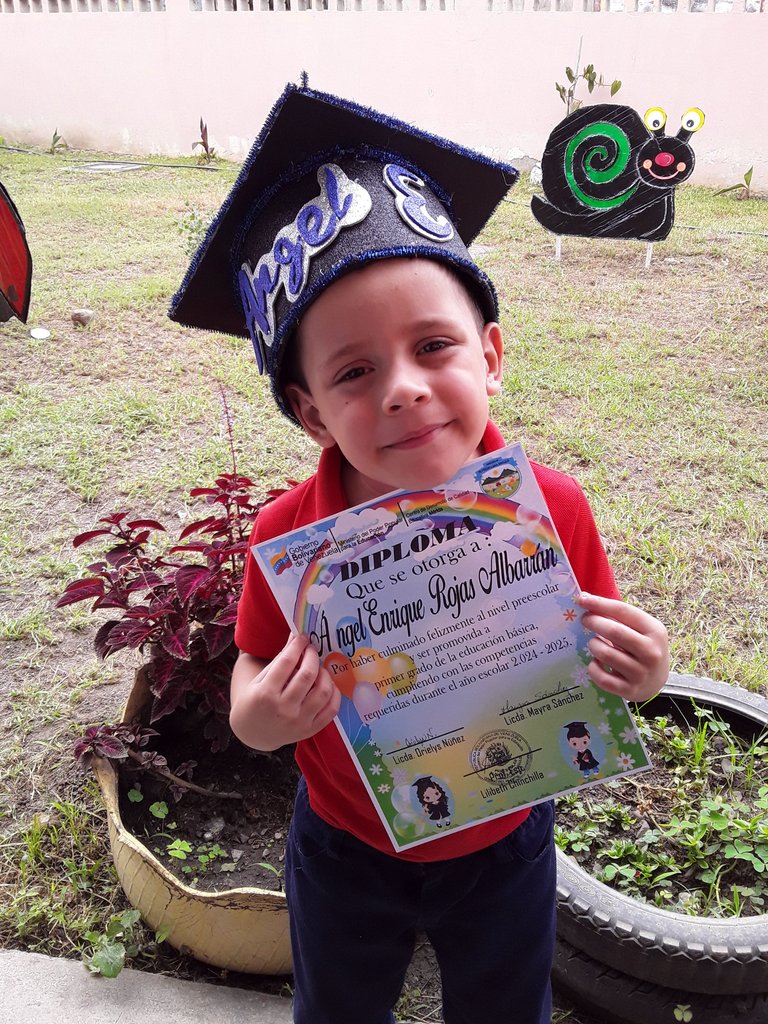
Aquí pueden ver el resultado. Me gustó mucho y mi niño lo disfrutó, ahora es un adorno más de nuestra sala, al lado del de su primo. Quedé satisfecha con el resultado, poco a poco iremos perfeccionando el proceso.
 |  |
|---|
 |  |
|---|
Espero que les haya gustado y se animen a elaborarlo ustedes mismos, cuando un ser querido logre una meta más en su vida. El trabajo realizado con amor, le agrega un valor muy especial.
 |  |
|---|

Hello, friends at Hive. Today, I am happy to share with you my experience making the cap for my little Angel's preschool graduation. It was a craft project I wanted to do myself, because you can imagine how special it is to me.
Little by little, I acquired some materials, almost all of which I bought at a very popular store in my country called El Castillo. There I found glitter foam, double-sided cardstock, and also some 2.5 mm thick cardboard that I loved because it is very easy to work with, ideal for making models. I also bought a pack of pipe cleaners that I thought would be perfect for decorating. I wanted the cap to be pretty and eye-catching, but not over the top.
In the end, these are the materials I ended up using:
Black glitter foam in double letter size.
60 cm by 15 cm of double fax cardstock.
A piece of black cardstock, letter size, 2.5 mm thick.
8 strips of pipe cleaners.
Hot glue.
Blue glitter foam.
Silver glitter foam.
Printouts of the name and text created in Canva.
Scissors and rulers.
|
|---|
Procedure
Before starting to cut, I measured the circumference of my child's head and did a test with the frosted foam, as it is a more manageable material. I would need 52 cm long by 10 cm high to make the base of the cap, but I needed a few extra centimeters for the tabs that would hold the glue.
| |
|---|
Make triangular cuts on one side of the cardboard. Place the stiff cardboard on top of them to give it stability.
| |
|---|
I joined the ends of the cardboard, giving it a circular shape, and checked that it was the right size. I did the same with the black foam, and stuck it firmly onto the cardboard. But this time, the tabs would go at the bottom of the base.
| |
|---|
| |
|---|
Decorate the ends of the cylinder using the blue strips, using two on each side. I found them to be very practical and moldable.
| |
|---|
| |
|---|
I cut the 2.5 mm thick cardboard to 20 cm by 20 cm, a suitable size for children. And before gluing it to the cylinder, I decided to decorate it separately. This was the difficult part for me, as I used a font that was a little complicated to cut out. I chose Adlery Pro from Canva, a very nice font.
In general, the procedure I used was as follows. I traced the letters backwards with a pencil on the back of the foam. I carefully cut them out and glued them onto the silver foam, which I outlined around the word. I wanted to use both names, but I ended up only using the first name and the initial of the second name.
| |
|---|
| |
|---|
| |
|---|
For the top part, I cut out the words that I had printed and placed them on blue foam. Finally, I fixed a few details and joined the two parts of the cap together.
| |
|---|
Here you can see the result. I really liked it and my son enjoyed it too. Now it's another decoration in our living room, next to his cousin's. I was pleased with the result, and little by little we'll perfect the process.
| |
|---|
| |
|---|
I hope you liked it and feel inspired to make it yourselves when a loved one achieves another goal in their life. Work done with love adds a very special value.
| |
|---|
Hasta la próxima, un millón de bendiciones a sus familias.
Until next time, a million blessings to your families.
Traducción: DeepL
Imágenes: @doriangel
Edición: Canva(Recursos y plantillas gratuitas)