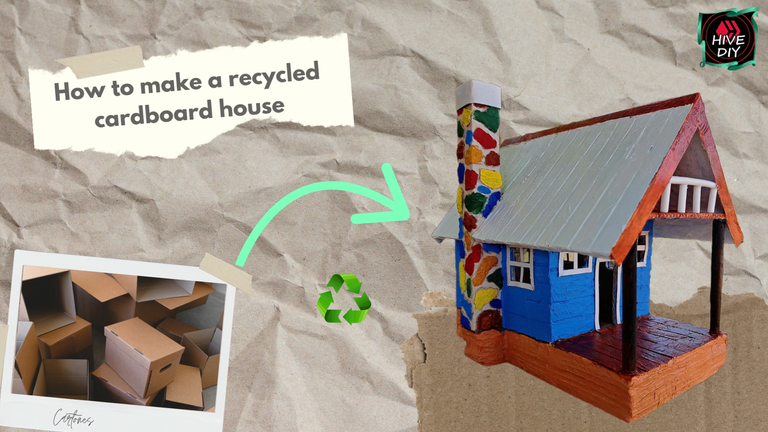
Hello there, my crafty friends! It's been quite a while since I last posted a little house made with cardboard. I love this kind of crafts, because besides the sentimental meaning attached to the creation, it also brings a sense of well-being knowing that you are making something beautiful and, at the same time, eco-friendly. That is why today I bring you a tutorial where I will show you step by step how to create a colorful little house using recycled materials.
The little house is small in size, so it can be used as a window decoration or as a toy. It has bright colors to make it more attractive to the eye and was created using different pieces of cardboard. I hope you like it and as always I ask you to leave me in the comments any questions or suggestions you may have.
! [Spanish Version Here]
¡Hola! ¿Qué tal, mis amigos artesanos? Ya ha pasado bastante tiempo desde la última vez que publiqué una casita hecha con cartón. Este tipo de manualidades me encantan, ya que además del significado sentimental que se le atribuye a la creación, también trae un sentimiento de bienestar al saber que se está haciendo algo hermoso y, a la vez, ecológico. Es por eso que hoy les traigo un tutorial donde les mostraré paso a paso como crear una colorida casita utilizando materiales reciclados.La casita es de un tamaño pequeño, por lo cual puede ser utilizada como adorno de vitrina o como un juguete. Cuenta con colores llamativos para que sea más atractiva a la vista y fue creada utilizando trozos de cartón diferentes. Espero les guste y como siempre les pido que me dejen en los comentarios cualquier duda o sugerencia que tengan.
 |
 |
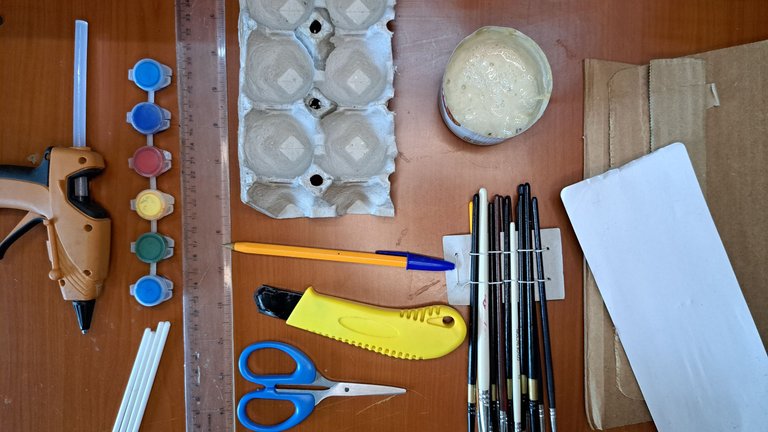
Materials // Materiales
| ✔️ Cardboard and paperboard | ✔️ Cartón y cartulina |
| ✔️ Egg carton | ✔️ Cartón de huevos |
| ✔️ Silicone gun | ✔️ Pistola de silicona |
| ✔️ Glue with a flour base | ✔️ Pegamento con base de harina |
| ✔️ Kitchen paper towel | ✔️ Papel de cocina |
| ✔️ Scissors and cutter | ✔️ Tijeras y cortador |
| ✔️ Rule and markers | ✔️ Regla y marcadores |
| ✔️ Lollipop sticks | ✔️ Palitos de chupa-chus |
| ✔️ Acrylic paint | ✔️ Pintura acrílica |
| ✔️ Brushes | ✔️ Pinceles |
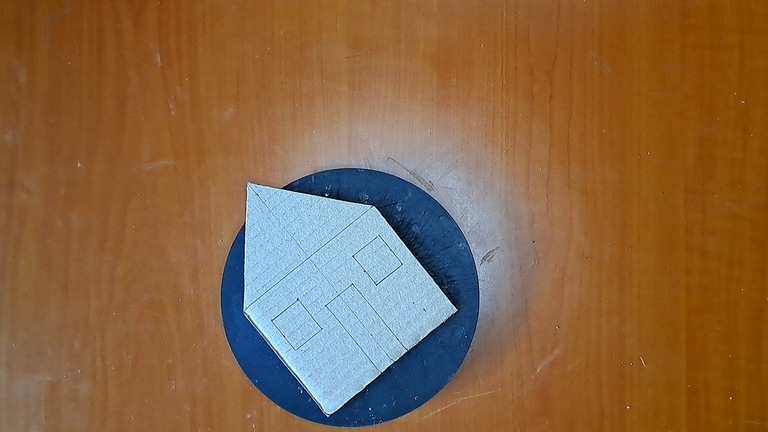
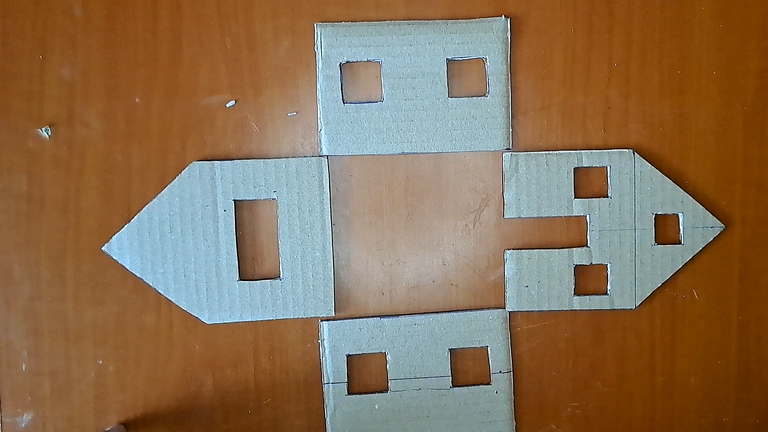
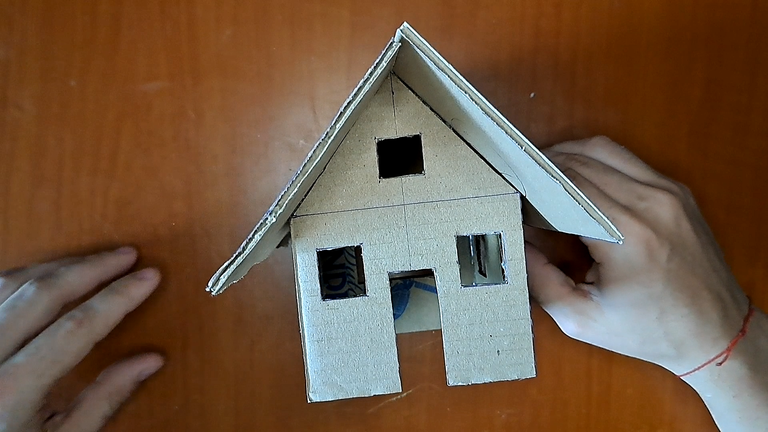
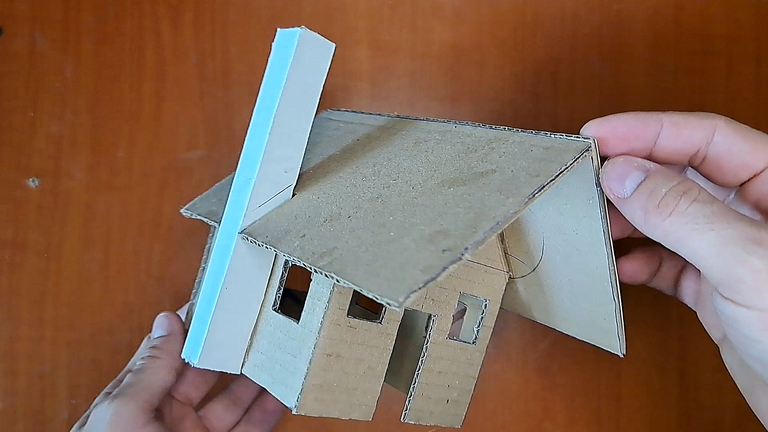
To begin, mark and cut out the four segments that will make up the walls of the house. Then, glue them together and place the roof on top (see measurements in the video).
! [Spanish Version Here]
Para empezar, se deben marcar y recortar los cuatro segmentos que compondrán las paredes de la casa. Luego, se deben pegar y colocar el techo encima. (Ver medidas en el video)
|
|

|
|
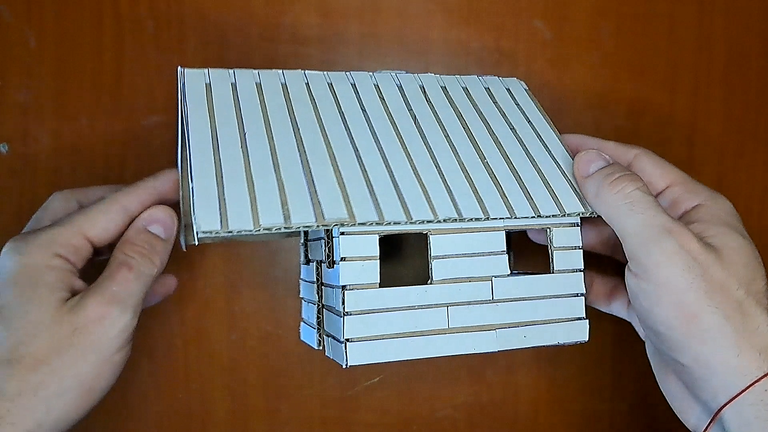
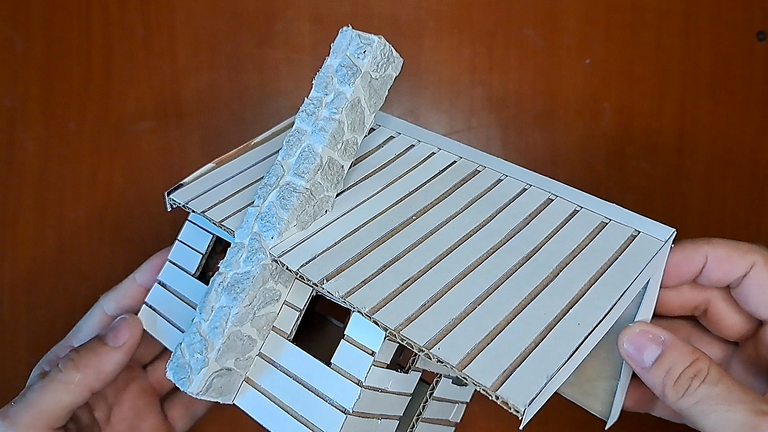
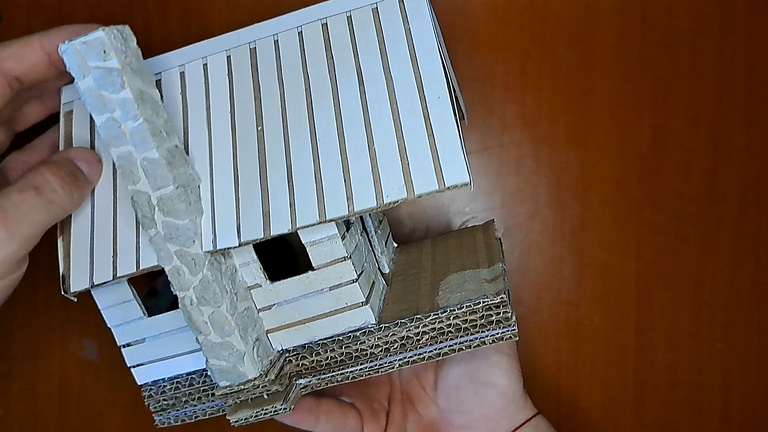
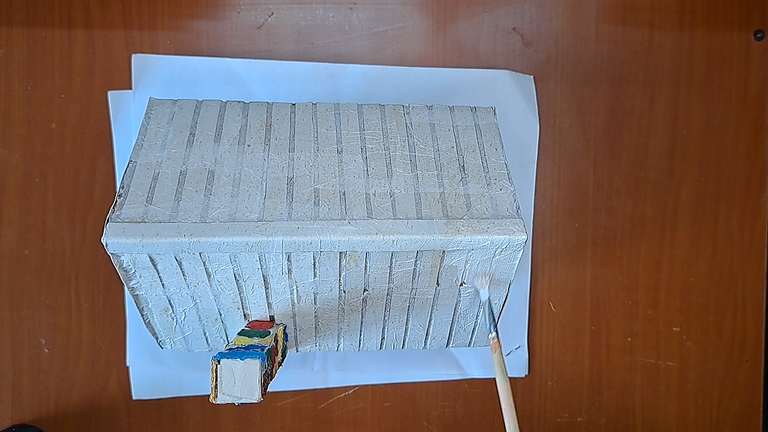
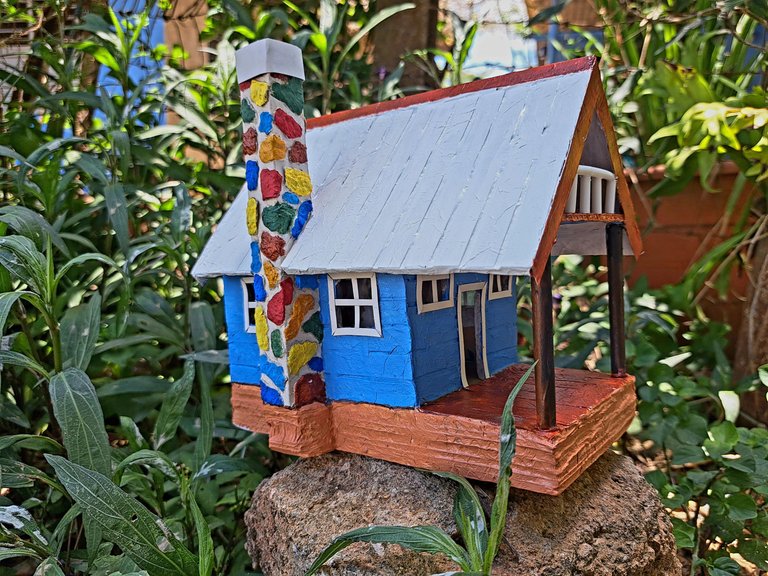
Using white construction paper, cut out the shape of a chimney to glue to the side of the house. Small strips of cardboard will be cut out to glue all over the surface of the house, simulating wooden planks and shingles on the roof. Then, with egg carton, cut out and glue small pieces as if they were stones embedded in the chimney.
! [Spanish Version Here]
Utilizando cartulina blanca, recorta la forma de una chimenea para pegarla a un costado de la casa. Se recortarán pequeñas tiras de cartulina para pegarlas por toda la superficie de la casa, simulando tablas de madera y tejas en el techo. Luego, con cartón de huevo, recorta y pega pequeños pedazos como si fueran piedras incrustadas en la chimenea.

|
|
|
|
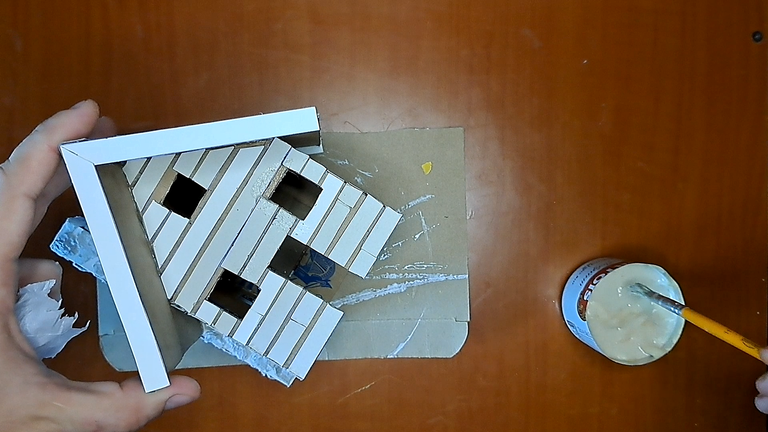
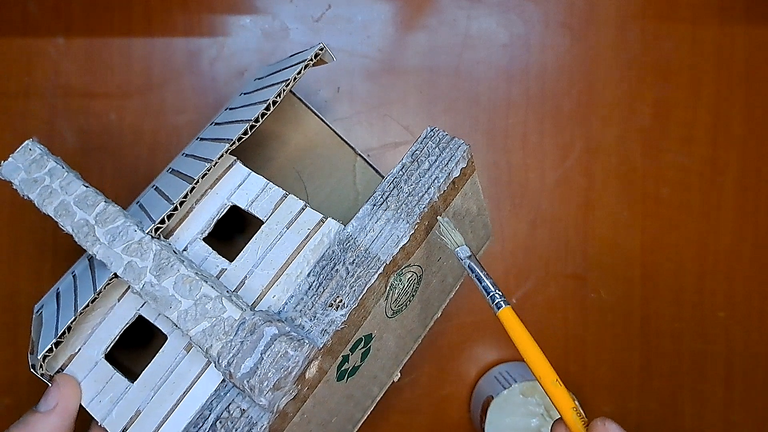
Apply a layer of paper towels and liquid glue to doors and windows. Then glue several sheets of cardboard cut to size on the floor and then cover them with paper towels and flour-based glue.
! [Spanish Version Here]
Aplica una capa de papel de cocina y pegamento líquido en puertas y ventanas. Luego pega en el piso varias láminas de cartón cortadas a la medida y a continuación cúbrelas con papel de cocina y pegamento a base de harina.
|
|
|
|
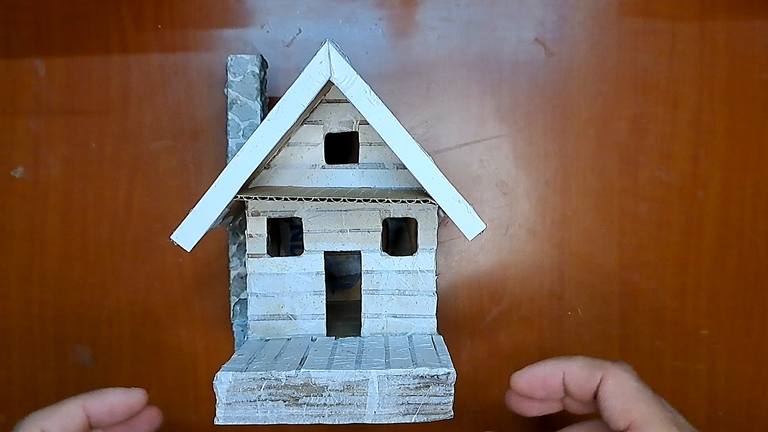
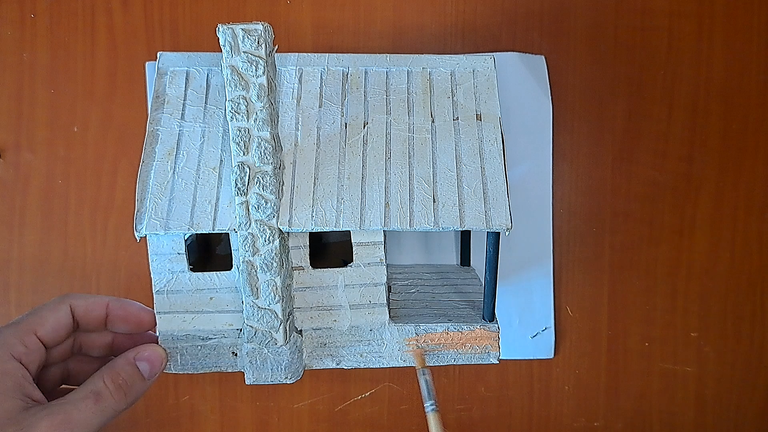
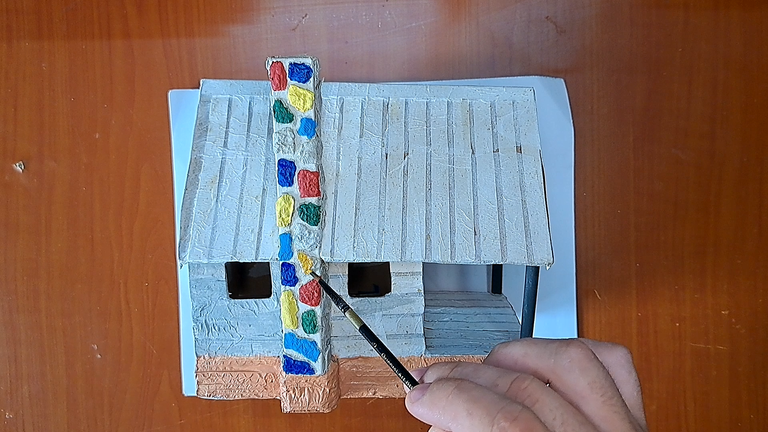
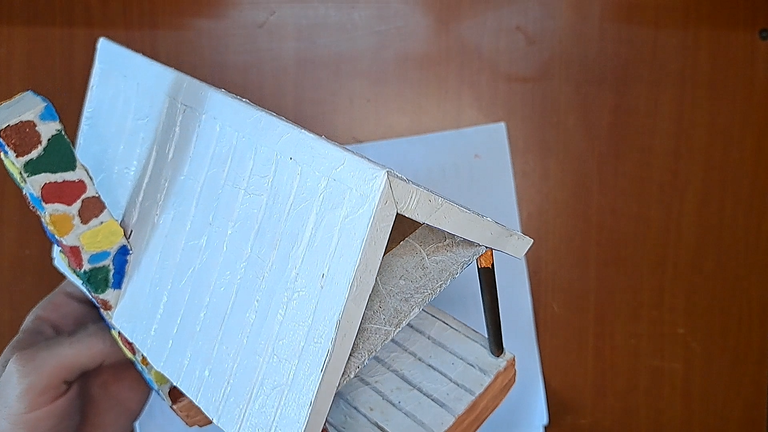
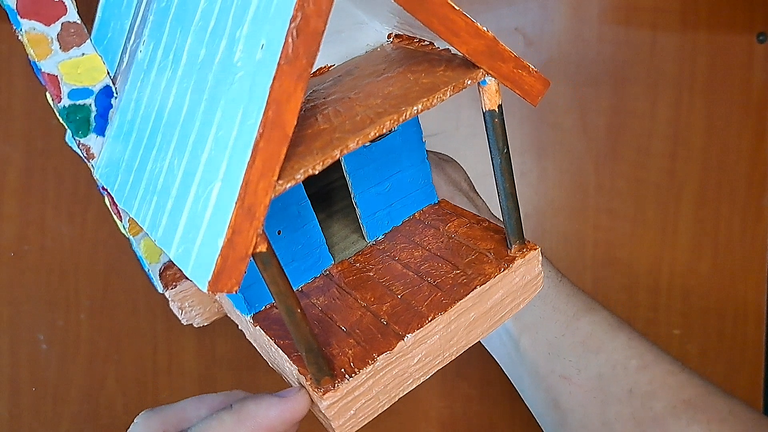
Place some front supports that you will make with paper or cardboard. On top of the supports, place a piece of cardboard that will serve as the balcony floor. Next, paint the base of the floor and then the chimney. In the case of the chimney, you can choose a single color. I preferred to make it multicolored.
! [Spanish Version Here]
Coloca unos soportes frontales que confeccionarás con papel o cartulina. Encima de los soportes, coloca una pieza de cartón que servirá como piso del balcón. Seguidamente, pinta la base del piso y luego la chimenea. En el caso de la chimenea, puedes elegir un solo color. Yo preferí hacerla multicolor.
|
|
|
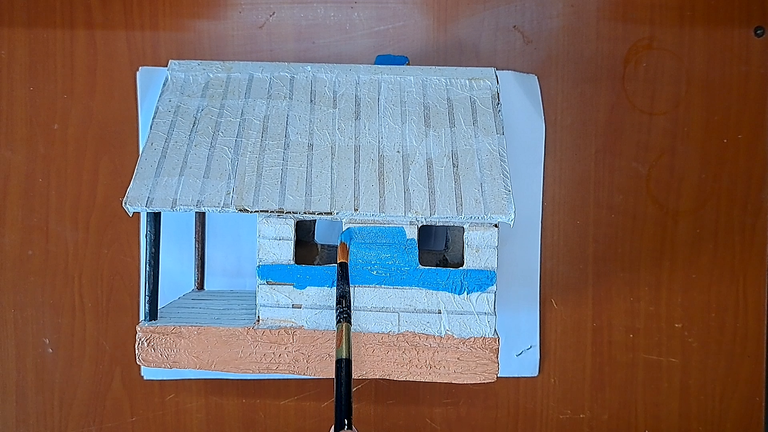
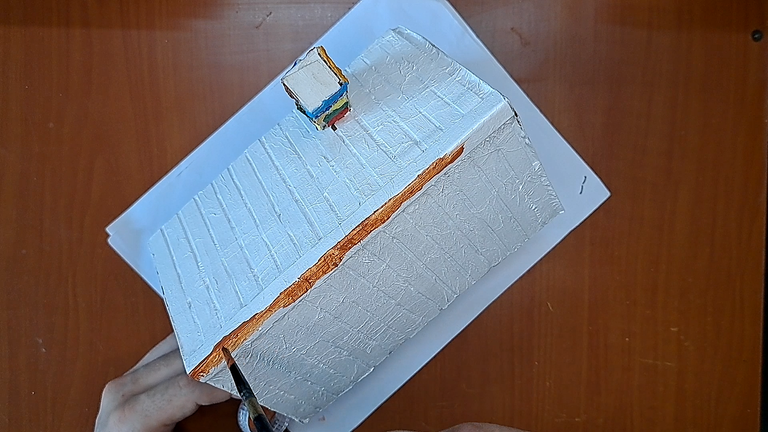
Continue painting, but this time the walls will be blue, the ceiling will be white, and the easel and the frontal bands will be carmelite.
! [Spanish Version Here]
Continúa pintando, pero esta vez las paredes serán de azul, el techo de blanco, y el caballete y los cintillos frontales de color carmelita.
|
|
|
|
|
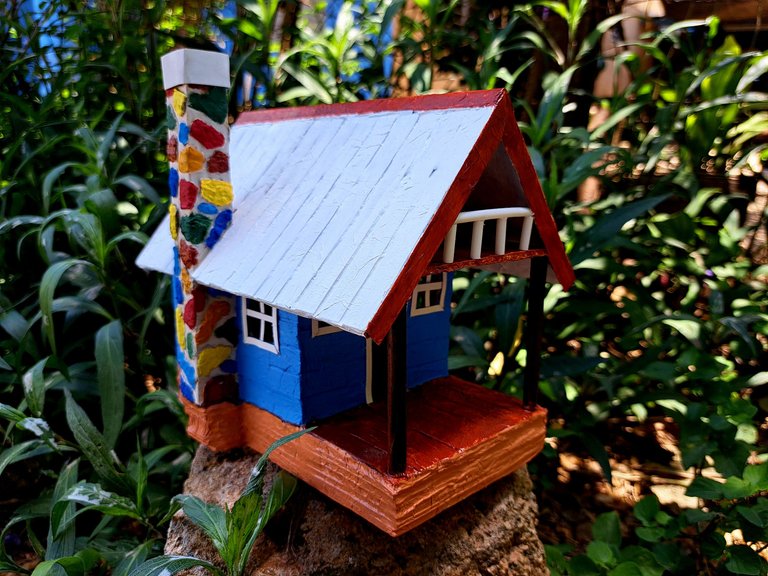
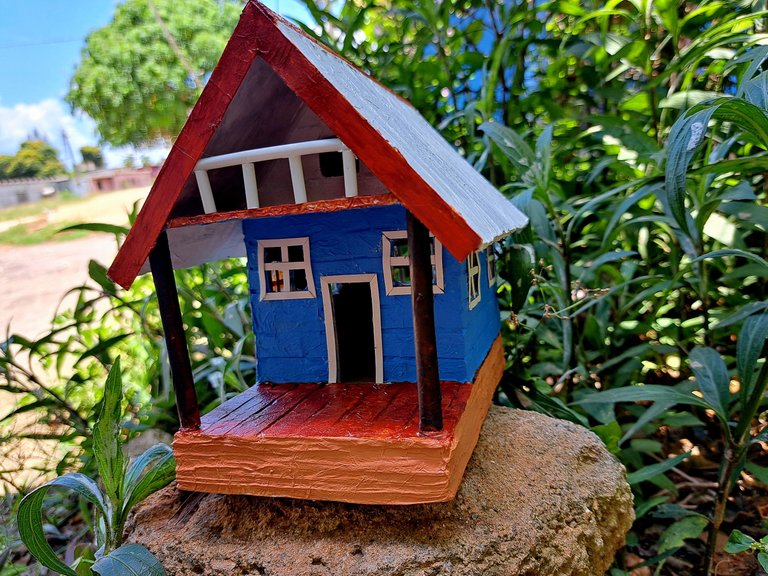
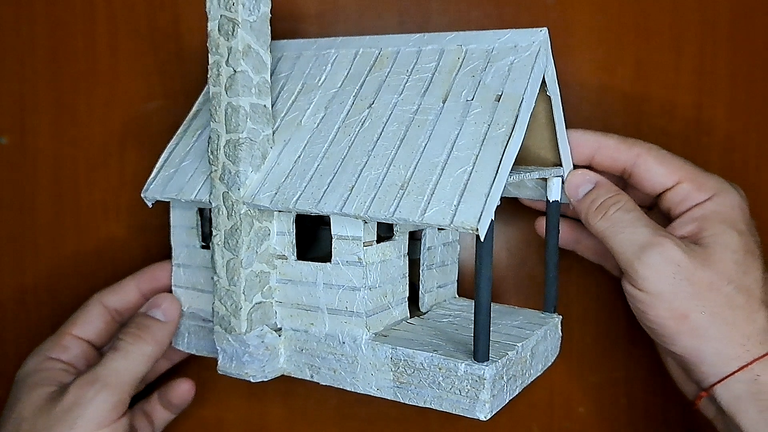
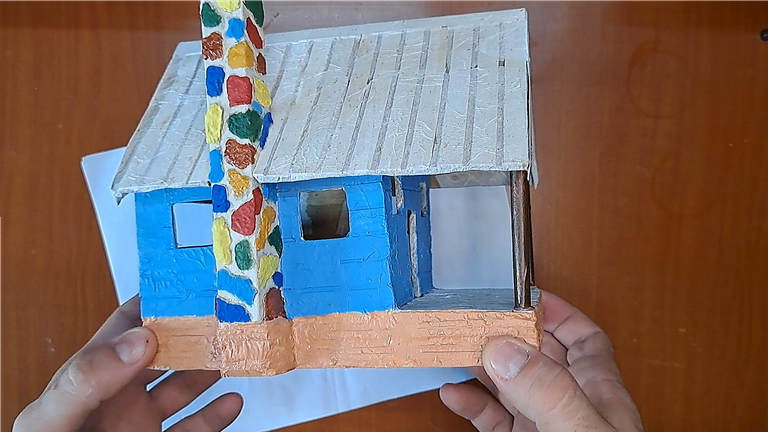
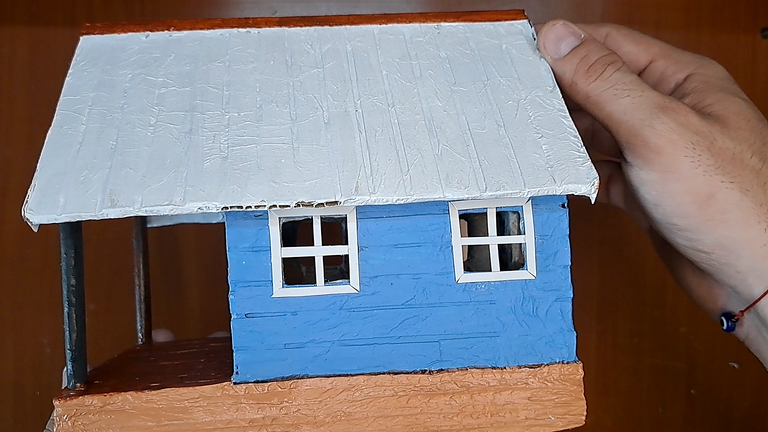
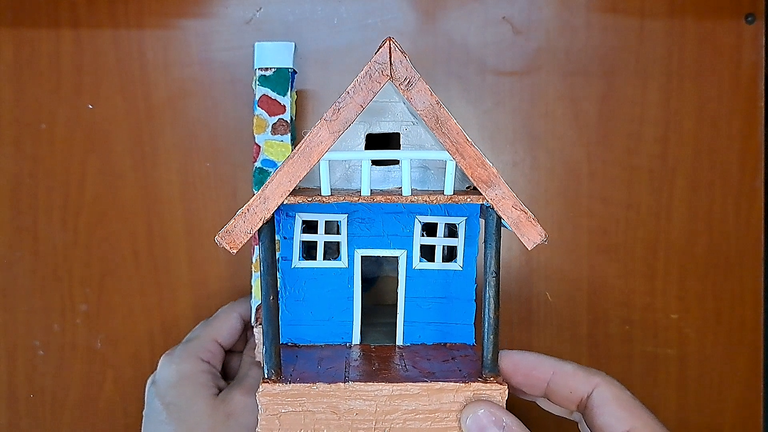
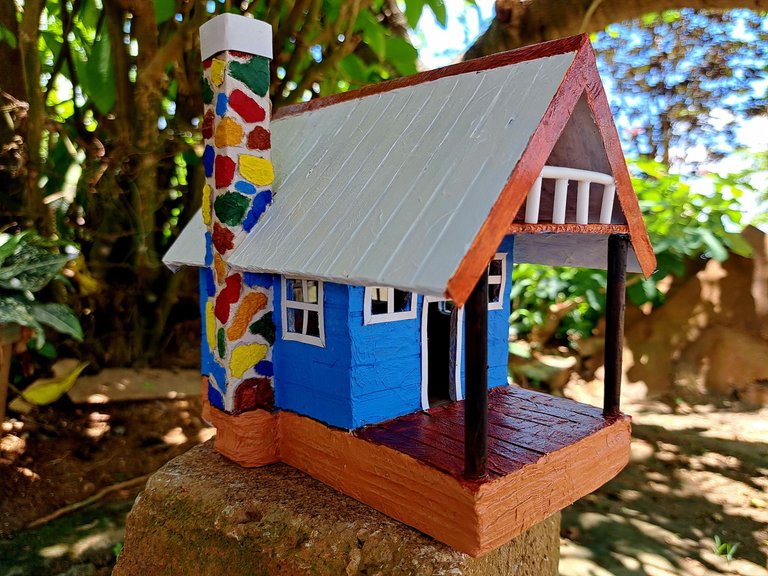
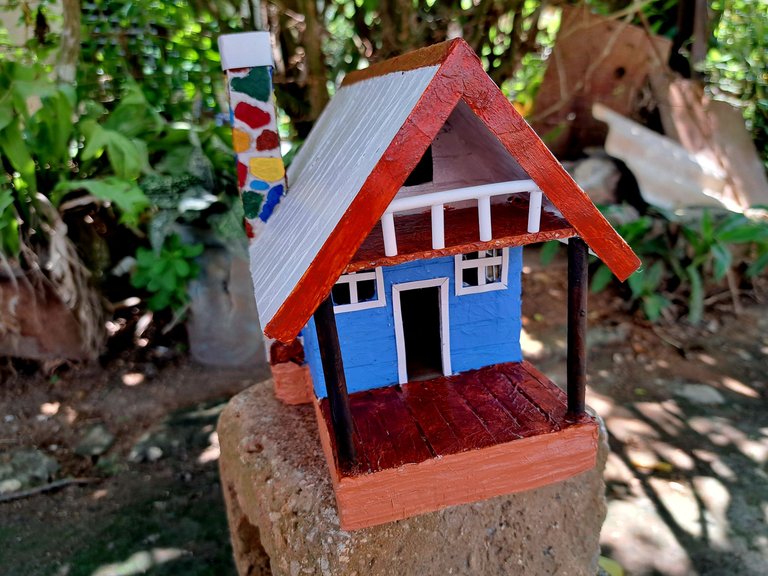
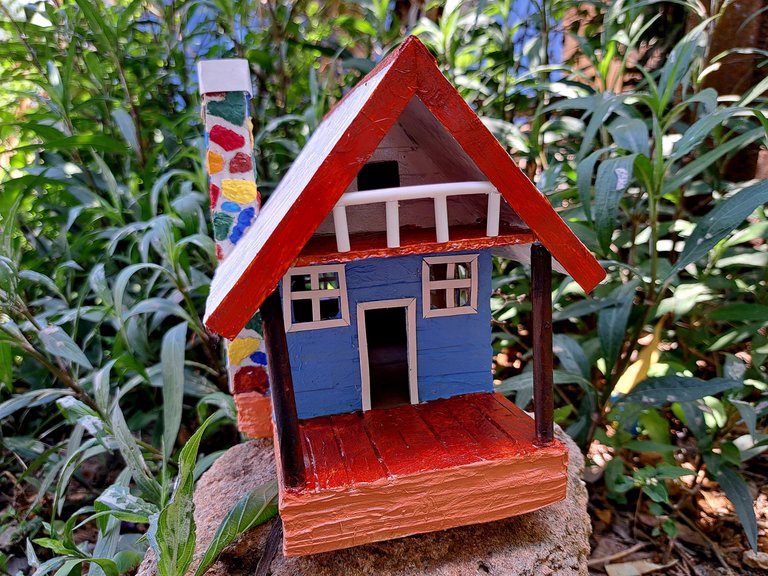
The only thing left to do is to place the window and door frames using white cardboard. The front floors should also be painted brown and, finally, the balcony railing should be placed using small pieces of popsicle sticks.
! [Spanish Version Here]
Ya solo queda colocar el marco de las ventanas y puertas utilizando cartulina blanca. También se deben pintar los pisos delanteros de color marrón y, para finalizar, colocar la baranda del balcón usando pequeños trozos de palitos de paleta.
 |
 |
|
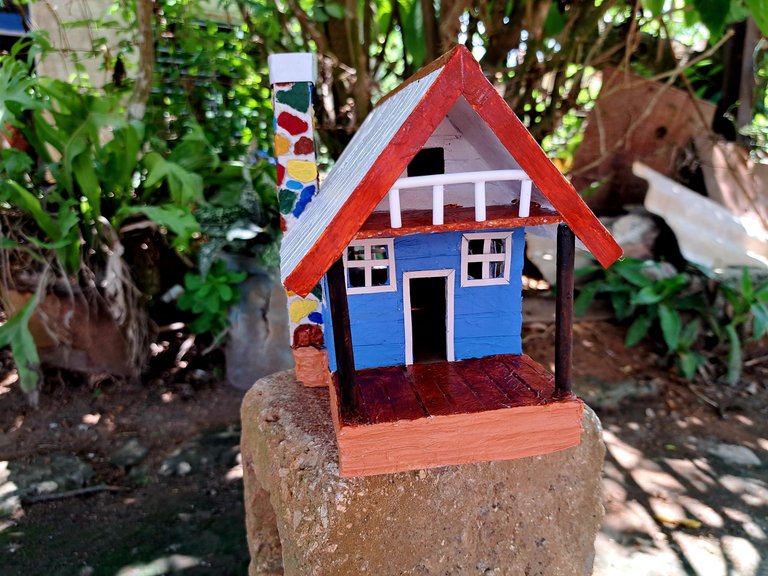
⚜️ Finished Work // Trabajo Terminado ⚜️
 |
 |
 |
 |
 |

Thank you very much for reading my post. If you liked it, please leave a comment and consider following me so you don't miss my next posts. I'd love to know your opinion and your thoughts about the topic I discussed in this post, see you in the next one!
Credits and Resources // Créditos y Recursos
Cover page created in Canva Pro
Translated by DeepL
Video and images captured with my Samsung Galaxy A53
Edited in Wondershare Filmora 13
Music by u_oyayh5ybip from Pixabay


▶️ 3Speak